We’ll explain what advertising ID is and why you should disable it. Also, we’ve compiled the best ways to disable the Advertising ID on your Windows 11 computer easily.
What Is Advertising ID and Why Should You Disable It
The advertising ID is a unique identifier assigned to most operating systems, allowing advertising services to identify you and your device to serve targeted ads uniquely. Even though advertising ID provides a personalized ad experience, it gives third-party advertisers and huge corporations the ability to track your movements, browsing habits, time spent on specific applications, etc. to show you ads based on that. You may consider disabling advertising ID on your Windows 11 PC to deny Microsoft and third-party advertisers to track your usage and profile you based on your likes, dislikes and browsing activity.
How to Disable Advertising ID on Windows 11
You can disable the Advertising ID on your Windows 11 PC using three different methods. Let’s take a look at all three of them:
1. Disable Advertising ID Using the Settings App
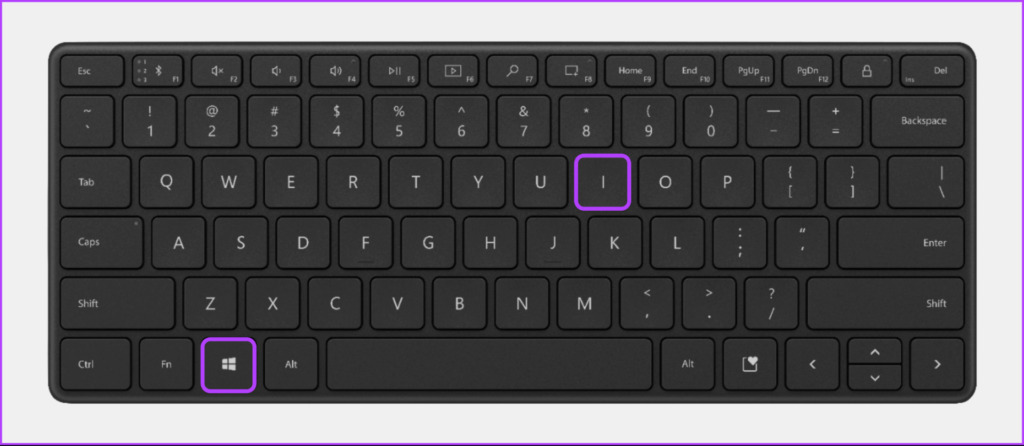
The new Settings app is a go-to spot for easily tweaking and managing different aspects of your Windows 11 PC. You’ll need to navigate to the Privacy & Security page of the Settings app and toggle it off. Here are the steps for that: Step 1: Press the Windows + I keys to open the Settings app. Step 2: When the Settings app opens, click on the Privacy & Security option from the left sidebar. Step 3: On the Privacy & Security screen, click on the General option under Windows permissions section. Step 4: On the General page, turn off the toggle for the ‘Let apps show me personalized ads by using my advertising ID’ option. Furthermore, you can turn off the toggle for the other options to ensure limited data about your PC is shared with Microsoft and other websites you might access on the internet.
2. Disable Advertising ID Using Registry Editor
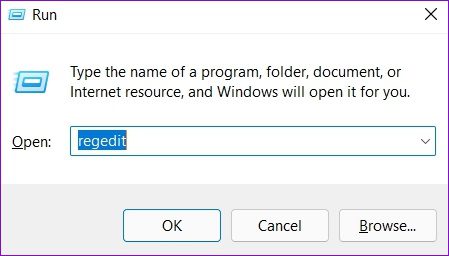
Another way to disable advertising ID on their Windows 11 PC includes using the Registry Editor. Here’s how you can do the same on your PC: Step 1: Press the Windows key + R keys to open the Run dialog and type regedit in the text field. Then, press Enter. Step 2: Copy and paste the following location into the Navigation bar: Step 3: When you reach the AdvertisingInfo folder, double-click on the Enabled entry located in the right pane. Step 4: When an Edit DWORD (32-bit) Value dialog appears on the screen, set its value data to 0. Then click on OK to save the changes.
3. Disable Advertising ID Using Group Policy Editor
Group Policy Editor is also a useful tool to tweak and change the options in Windows. Here’s how you can use the Group Policy Editor to disable advertising ID on your Windows 11 PC: Note: If your computer runs Windows 11 Home edition, you may skip this solution as it won’t work for you. The Group Policy Editor is a feature available only for Windows 11 Pro, Education and Enterprise editions. Step 1: Press the Windows + R keys to open the Run dialog and type gpedit.msc in the text field. Then, press Enter. Step 2: In the Local Group Policy Editor, open the User Profile folder by navigating to the following path using the left pane. Step 3: When you reach the User Profile folder, double-click on the ‘Turn off the advertising ID’ policy from the right pane. Step 4: In the ‘Turn off the advertising ID’ window, click on Enabled, followed by the Apply button to save the changes.
Quickly Disable Targeted Ads on Windows 11
The solutions mentioned above will help you disable advertising ID on your Windows 11 PC. After that, you won’t have to worry about seeing ads based on anything you type or browse on your Windows 11 computer.


