You’ll see your administrator name appear when you sign in to your Windows account (local). The username would reflect the relevant information if you are signing in with your Microsoft account. To change your administrator name, here are the different ways you can go about it.
Change Administrator Name Using Manage My Microsoft Account
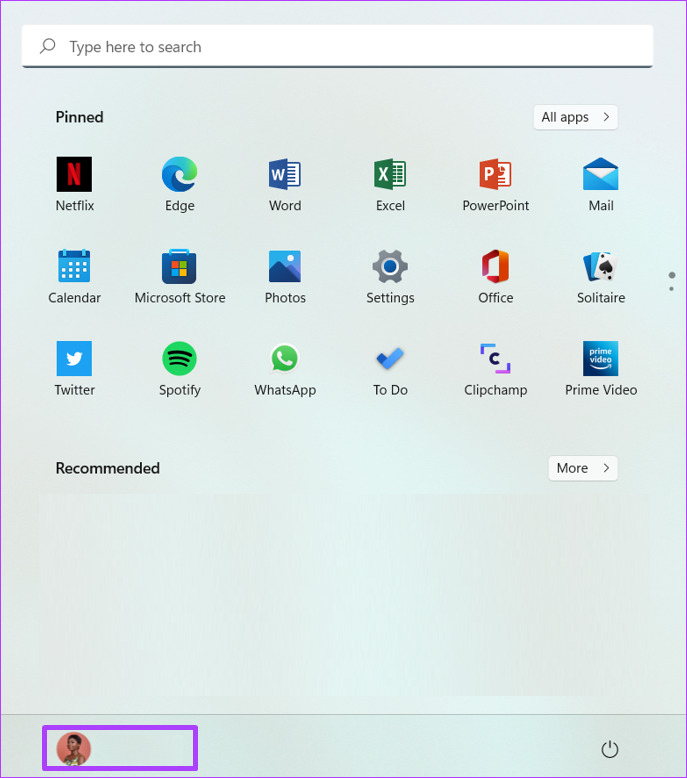
When you sign in to a Windows PC using your Microsoft Account details, the PC imports your information. After that, you’ll need to update your Microsoft Account to change your Administrator name. Here’s how to do so: Step 1: On your PC, click on the Start menu.
Step 2: Click on your Account name at the bottom.
Step 3: Click on Change account settings.
Step 4: Under the Related settings group at the right of the Your info pane, click on ‘Manage my accounts.’ This should take you to the Microsoft website to sign in to your Microsoft account.
Step 5: On your Microsoft account, click on your Account name.
Step 6: Click on Edit name.
Step 7: Provide the First name and Surname you want displayed as your administrator name on your PC.
Step 8: Fill in the captcha and click on Save.
Step 9: Restart your PC to enable the changes.
Change Administrator Name Using the Control Panel
If you have not linked your local Windows account to your Microsoft Account, you can use the Windows Control Panel to change the administrator name of your local account. Here are the steps to follow: Step 1: On your PC, click on the Start menu.
Step 2: On the search bar, type Control Panel.
Step 3: From the results for Control Panel, click on Open on the right pane.
Step 4: Click on User Accounts.
Step 5: Click Change account type.
Step 6: Click on the user profile you would like to change.
Step 7: Click on ‘Change the account name.’
Step 8: Type the new user account name in the field provided.
Step 9: Click on Change name to save your changes.
Change Administrator Name Using the Run Dialog
Another way you can update your administrator name for an account not linked to Microsoft is by using the Run tool. Here’s how to do so: Step 1: On your PC, click on the Start menu.
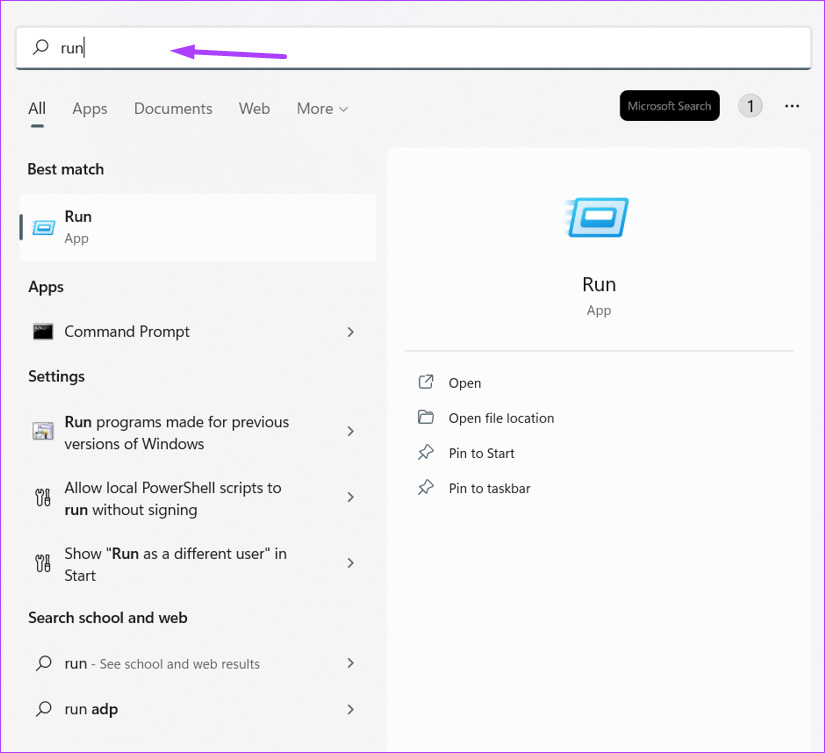
Step 2: On the search bar, type Run. Or you can press Windows + R key to launch the Run dialog box.
Step 3: From the results for Run, click on the Open on the right pane.
Step 4: In the Open field of the Run tool, type netplwiz.
Step 5: On the User Accounts pane, click on the account you would like to rename.
Step 6: Click on Properties.
Step 7: On the User name field, type in a new name.
Step 8: Click on OK to save changes.
Change Administrator Name Using Computer Management
Computer Management is a set of administrative tools used to manage Windows. Using Computer Management to change your administrator name is highly recommended as it deters hackers from accessing your system. Here are the steps to follow when making use of Computer Management to change your administrator name: Step 1: On your PC, click on the Start menu.
Step 2: On the search bar, type Computer Management.
Step 3: Click on the drop-down beside Local Users and Groups.
Step 4: Double-click on Users.
Step 5: Right-click on Administrator and select Rename.
Step 6: Type a new name for your Account.
Making a User an Administrator on Windows 11
Making another administrator will create another user profile on your computer. Instead, you can just change your account name, especially when you share the computer with others. Also, only an administrator can make another account an administrator. Making a user an administrator can be done using Control Panel, Command Prompt or PowerShell.


