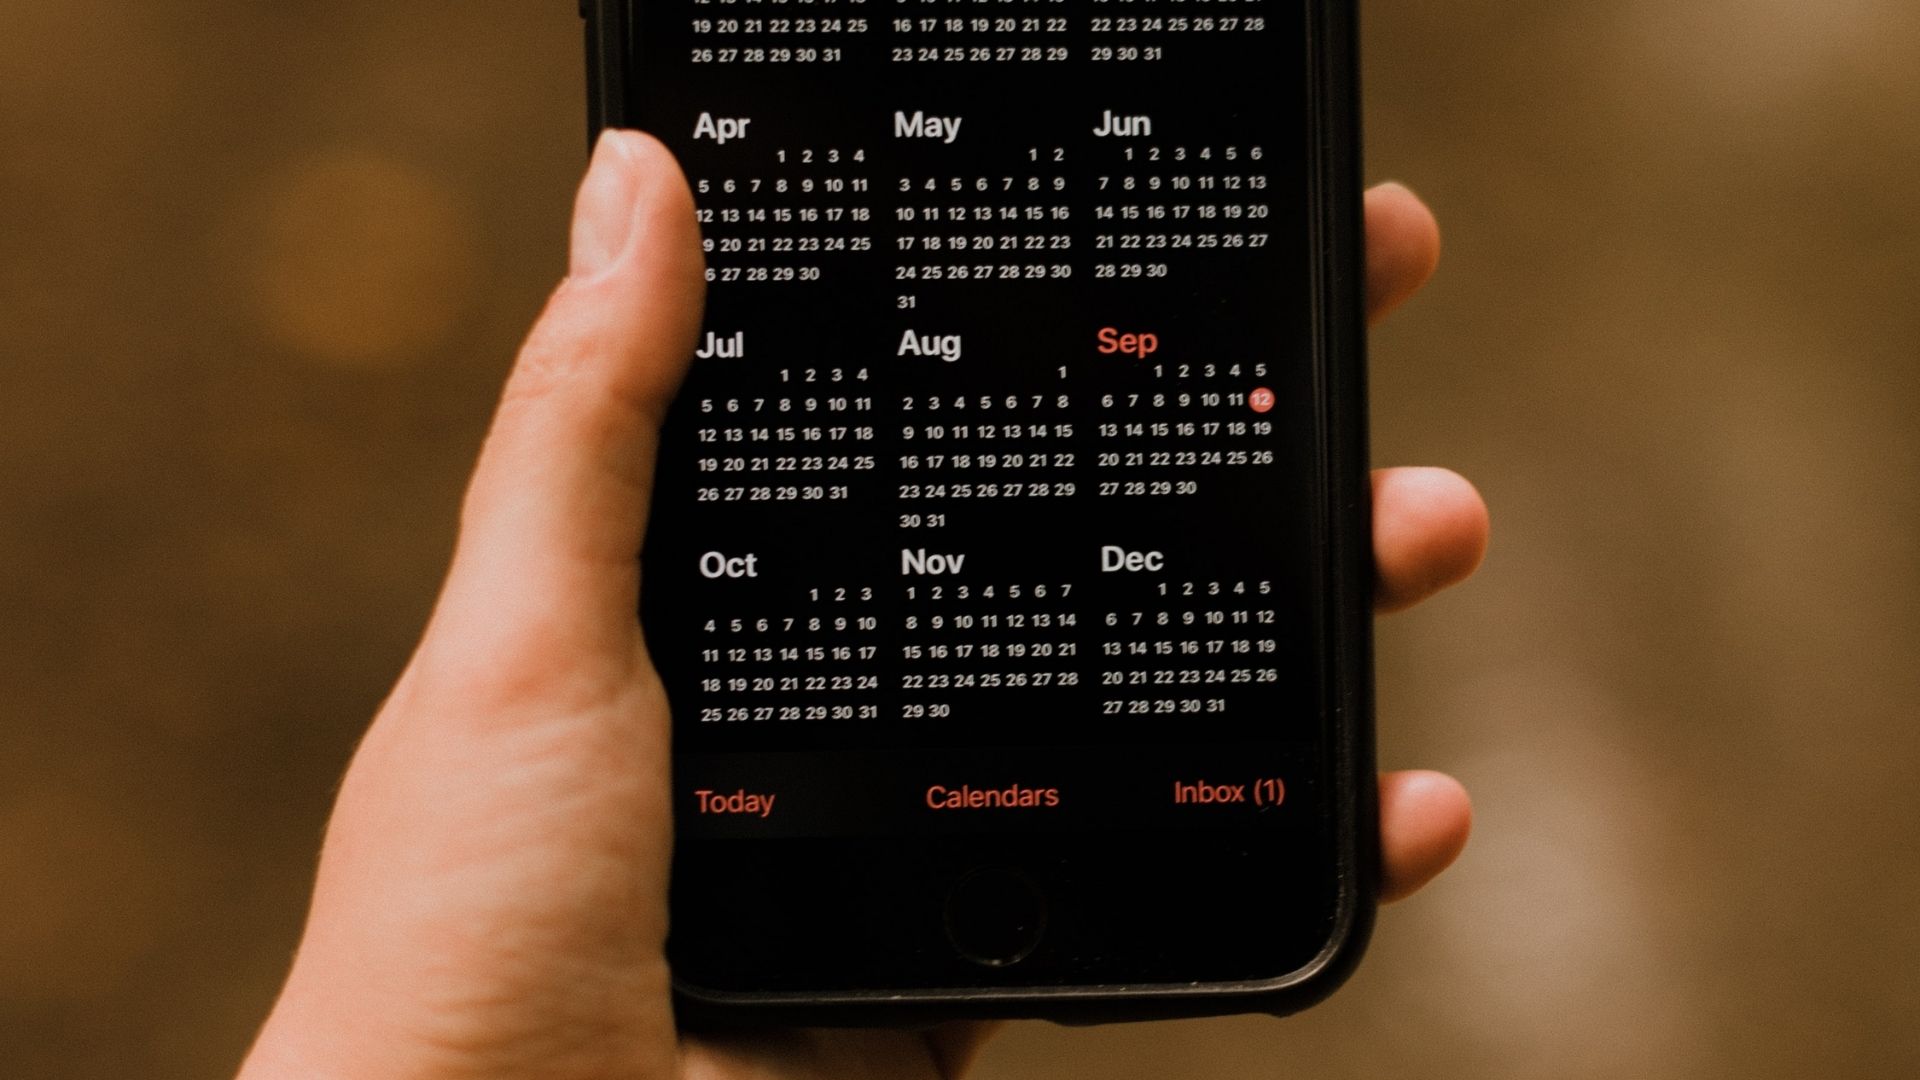
This post will cover some quick steps to add and remove holidays in the Apple Calendar app. We will show you the steps for iPhone, iPad, and Mac.
Remove Holidays in Calendar App on iPhone and iPad
The most common reason for removing the default holiday list is instead using the holiday calendar followed at your workplace. But if you don’t have a specific regional or work place calendar not syncing on iPhone, that’s the first thing you should fix. You can also add a new calendar if you have shifted to a new country or you want to include the dates of religious and cultural holidays. By default, iPhone syncs to multiple calendars based on the emails added to the iPhone, region, language settings, and more. You can remove the default holidays list by following these steps. They are applicable for both iPhone and iPad users. However, you can’t delete a specific holiday date that doesn’t apply to you. Step 1: Open the Calendar app on your iPhone or iPad.
Step 2: Tap on the Calendars option at the bottom.
You will now see a list of all the default enabled holiday calendars.
Step 3: To remove a calendar, simply uncheck it.
Step 4: Tap on Done in the top-right corner to confirm your choice.
After this, you will stop receiving notifications for those holidays.
Add Holidays in Calendar App on iPhone and iPad
The Apple Calendar app allows you to add a new calendar to mention important dates and events as per your preference. You can choose iCloud to sync that particular calendar on all your Apple devices. Follow these steps. Step 1: Tap on the Calendars option again at the bottom.
Step 2: Tap on Add Calendar at the bottom-left corner.
You can choose between Add Calendar or Add Subscription Calendar that you are following to manage your routine. Step 3: Tap on Add Calendar.
Step 4: Give a name to the calendar and select the color preference.
Step 5: Tap on Done.
Your new calendar name will now show under iCloud in the Calendars list. Now let us show you how you can add holiday dates to your newly created calendar. Step 6: Go back to the main screen by tapping Done.
Step 7: Select the month and date. Step 8: Tap on the Plus icon at the top.
Step 9: On the Create New Event page, give a Title for that holiday.
Step 10: Tap the toggle to enable All Day.
Step 11: Scroll down and tap on Calendar.
Step 12: Select the email ID and the new calendar name.
Step 13: Tap on Add.
This is how you can add a holiday by creating a new calendar.
Add and Remove Holidays in Calendar App on Mac
You can similarly remove holidays in the Calendar app using your Mac. This feature will make you get rid of all the unnecessary notifications of holidays not meant for you. You can also avoid many holidays appearing on the same date when only a specific one concerns you. Follow these steps. Step 1: Open the Calendar app on your Mac.
Step 2: Tap on Calendar from the top menu bar.
Step 3: Select Preferences from the list.
Step 4: Uncheck the box alongside the option of Show Holidays calendar.
You can also choose to hide the Birthday calendar.
If you want to add a specific calendar and holiday date, follow these steps. Step 1: In the General settings tab, click Default Calendar.
Step 2: Select the new calendar that you just created.
Step 3: Close the tab to go back to the main page of the Calendar app. Step 4: Select the month and date for adding a holiday. Step 5: Double-click below the Date number to add a new event.
Step 6: Add the name of the holiday.
Step 7: Click on the date and select All Day.
This is how you can add holidays for a new calendar that is followed at your workplace or in your native country.
Manage Holidays With Apple Calendar
You can easily manage your leaves by adding and removing holidays in the Calendar app. This is helpful in managing your personal and professional life in a better way. The best part is that you don’t have to install any third-party calendar app for accessing this feature.


