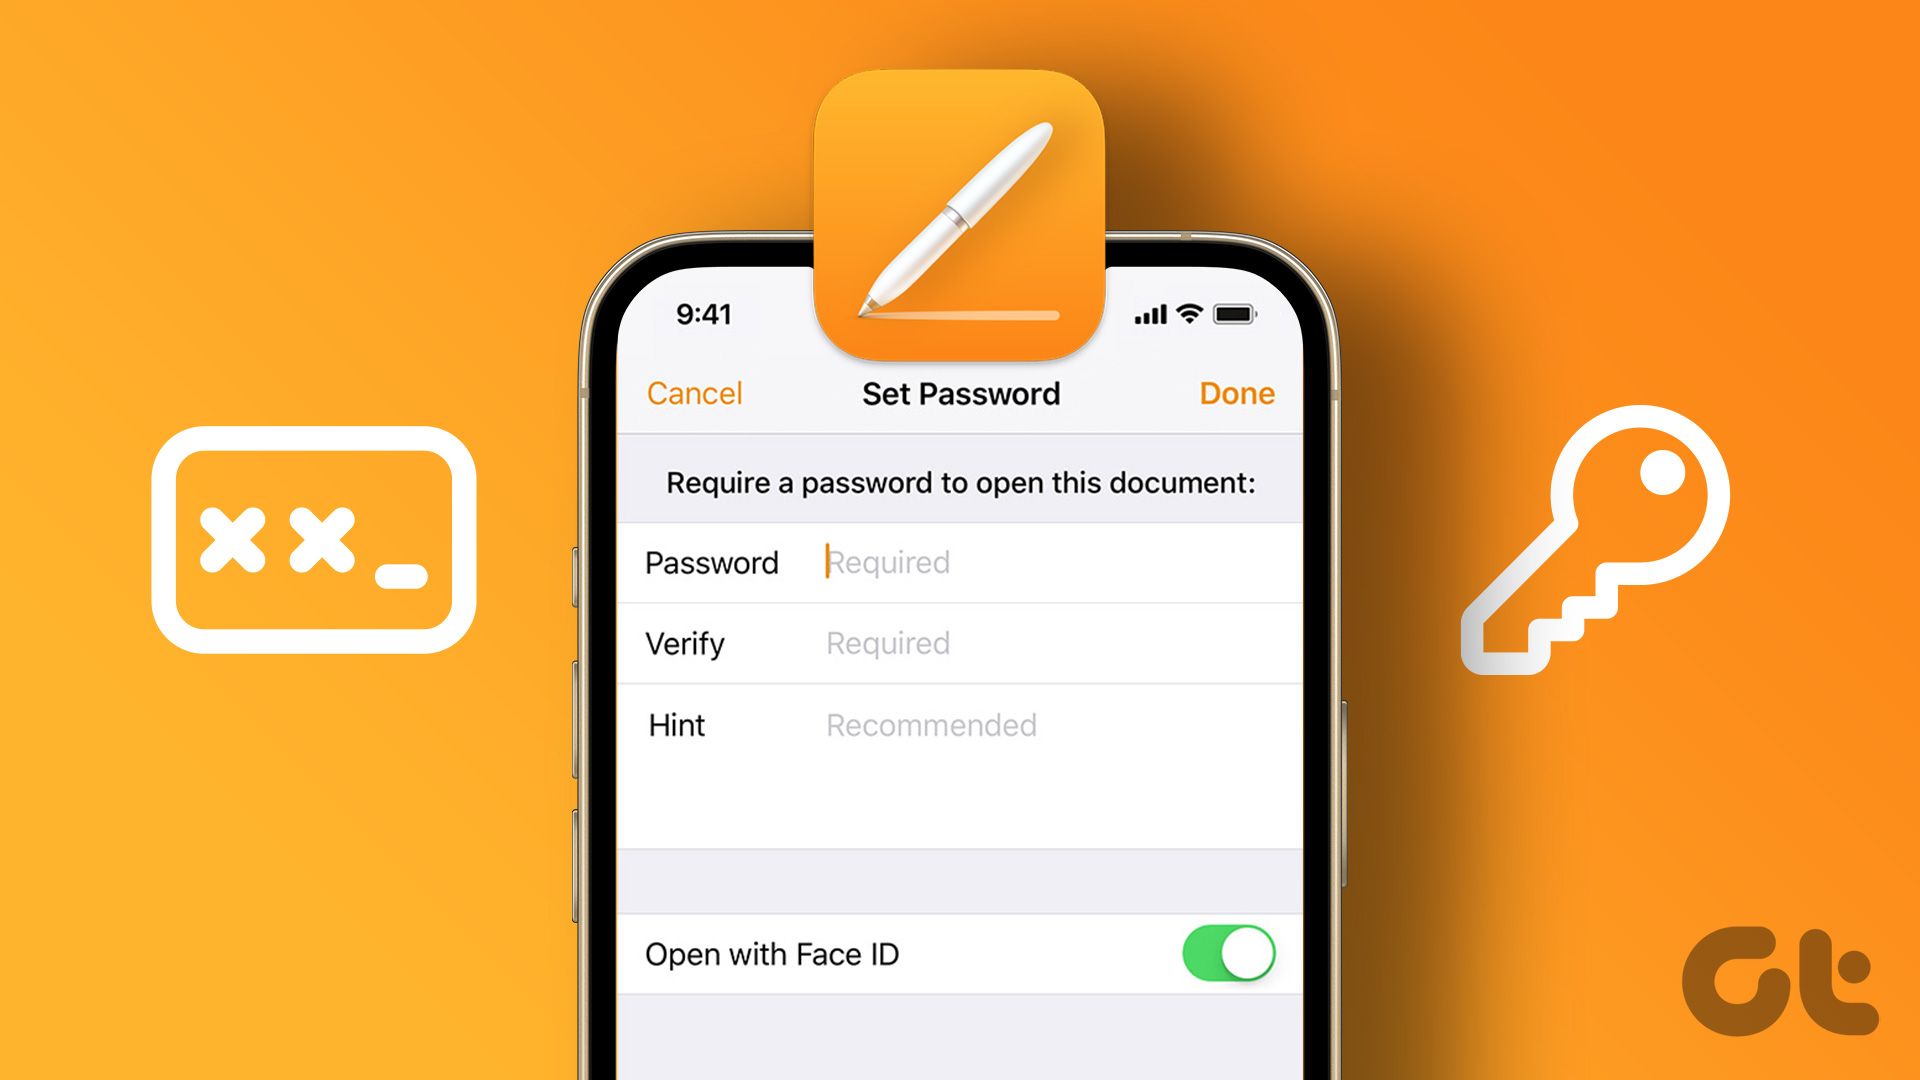
To protect the sensitive information, the Pages app lets you add a password to them. In this post, we will show how to add a password to a Pages document on iPhone, iPad, and Mac.
Add Password to a Pages Document on Mac
Let us begin with Macs since many use it work on documents in the Pages app. We recommend installing the latest update of the Pages app on your Mac. Update Pages for Mac After you ensure that your Mac runs the latest Pages app version, here’s how you can add the password. Step 1: Press Command + Spacebar to open Spotlight Search, type Pages, and press Return.
Step 2: Open the document that you want to password-protect. Step 3: When the document opens on your screen, click on File at the top-left corner.
Step 4: Select Set Password from the list of options.
Step 5: Add your password twice to verify it.
You can also choose to add a Password Hint and use Touch ID to unlock the document on your Mac.
Step 6: Click on Set Password to confirm your choice.
Step 7: Press Command + S to save changes. You will now notice a Lock icon in the Pages document icon on your Mac to denote that it is password protected.
You’ll get the prompt whenever you open the document to enter the Password or use Touch ID to unlock it.
Bonus Tip – How to Remove Password from Pages Document on Mac
If you wish to remove or change your Pages document password, here’s how to do it. Step 1: Press Command + Spacebar to open Spotlight Search, type Pages, and press Return.
Step 2: Open your password-protected document. Step 3: When the document opens on your screen, click on File at the top-left corner.
Step 4: Click on Change Password from the list of options.
Step 5: Add your previous password to verify. And then add your new password twice to confirm.
Step 6: Click on Change Password.
To remove the password, click on Remove Password.
Step 7: Press Command + S to save changes.
Add Password to Pages Document on iPhone and iPad
Your Pages documents will sync from your Mac to your iPhone and iPad if they are signed in with the same Apple ID. You can choose to add a password to your Pages document from your iPhone or iPad on the go. We recommend installing the latest version of the Pages app on your iPhone and iPad. Update Pages for iPhone Update Pages for iPad Here are the steps to add a password which remain the same for iPhone and iPad users. Step 1: Open the Pages app on your iPhone or iPad.
Step 2: Open the document that you wish to protect with a password. Step 3: Tap the three dots in the top-right corner.
Step 4: Select Document Options.
Step 5: Tap on Set Password.
Step 6: Add your Password twice to confirm and verify.
You can also choose to unlock your document using Face ID.
Step 7: Tap on Done at the top-right corner to save changes.
After you return to the main window, you will notice the Lock icon in your document icon.
When you tap on such a document, the iOS or iPadOS will prompt you to either enter the password or use Face ID to unlock it.
Bonus Tip – How to Remove Password from Pages Document on iPhone and iPad
Here’s how you can change or remove passwords from your Pages document on iPhone and iPad. The steps are the same for both platforms. Step 1: Open the Pages app on your iPhone or iPad.
Step 2: Open your password-protected document. Step 3: Tap the three dots in the top-right corner.
Step 4: Select Document Options.
Step 5: Tap on Change Password.
Step 6: Enter your old password. Then enter the new password twice to verify and confirm.
Step 5: Tap on Done at the top-right corner to save your new password.
You can tap the toggle next to Require Password to remove password protection. Do note that you’ll need to enter your old password to finish this step.
Protect Your Pages Document
Adding a password to your Pages documents will secure them from unauthorized access. For any official documents of your company or organization, you can also add a watermark and create a password.


