One of those features is the ability to theme every single aspect of the keyboard. You can use different backgrounds in Gboard on Android with colors or a custom image. You can go further up a notch on iOS and set individual themes of keys, keystrokes, borders, gesture trails, etc. This level of granular details for theming lets you make your keyboard look the way you want it to. Here’s how you can customize and theme Gboard on your iPhone to its full potential.
How Is Gboard Customization Different on iPhone Compared to Android
On Android, Gboard gives you the ability to pick a background color for your keyboard. With recent updates, you can also let it pick a color based on your wallpaper thanks to Material You. A custom image from your gallery can also be set as a background.
While the same options are available on Gboard for iPhone, you can go one step further using the small edit icon below each theme. You can set separate colors for the background, keys, text within the keys, border, pop-up, and whatnot. If you like customizations, you’re going to love this feature!
How to Change Theme and Background on Gboard
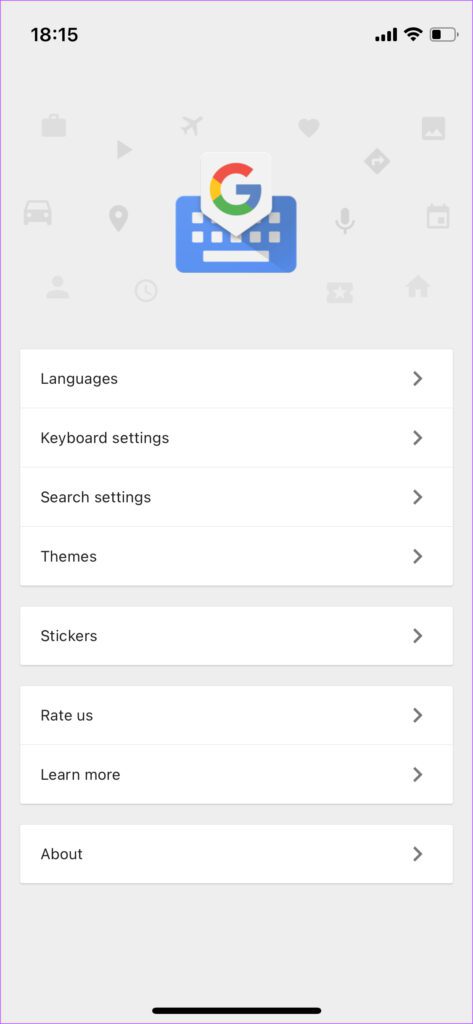
As mentioned earlier, there are several aspects of Gboard you can customize on iOS devices. This is the most basic option of them all. Step 1: Open the Gboard app on your iPhone.
Step 2: Tap on Themes to get access to the customization features.
Step 3: Scroll through the various theme options from Default, Landscapes, Light gradient, and Dark gradient.
Step 4: Pick the one you want to use for your keyboard. If you did not like any of the themes, scroll back up and tap on the ‘+’ thumbnail below the Custom option.
Step 5: Go through your images in the Photos app and pick the one you want to use as background.
Step 6: Adjust your picture to use as a background. Once done, tap on Choose.
That’ll set as a theme on Gboard. However, this is just the basic theme without any customization. Here’s how you can change and edit other aspects of the keyboard.
How to Change Key, Text, Border, Pop-Up, and Swipe Trail Colors on Gboard
Now that you have selected the basic theme for your keyboard, it’s time for more granular customization. Step 1: Choose the basic theme you want to proceed with by following the steps above. Step 2: Once you’ve selected the theme, tap on the small Edit icon on the bottom-right portion of the thumbnail.
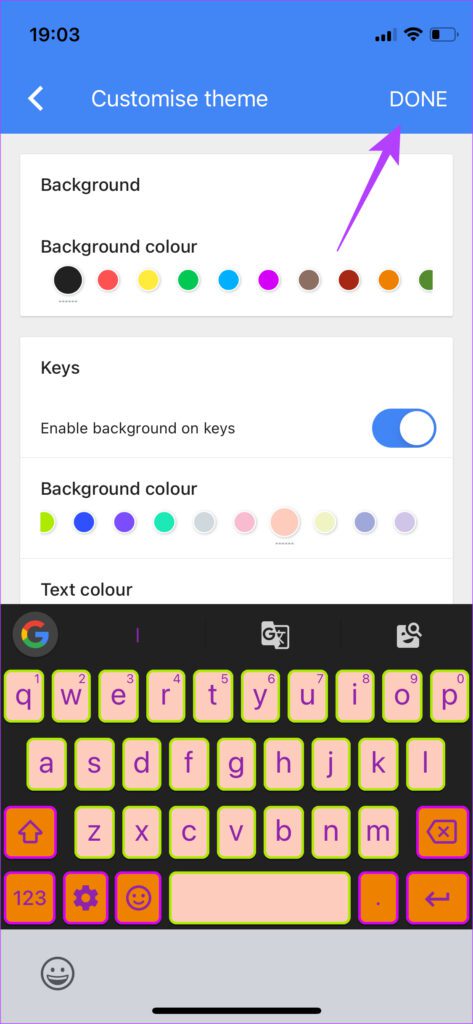
Step 3: This is where you will see all your customization options. A preview of the keyboard is displayed on the bottom half of the screen so that you can view your changes in real-time.
Change Background Colors
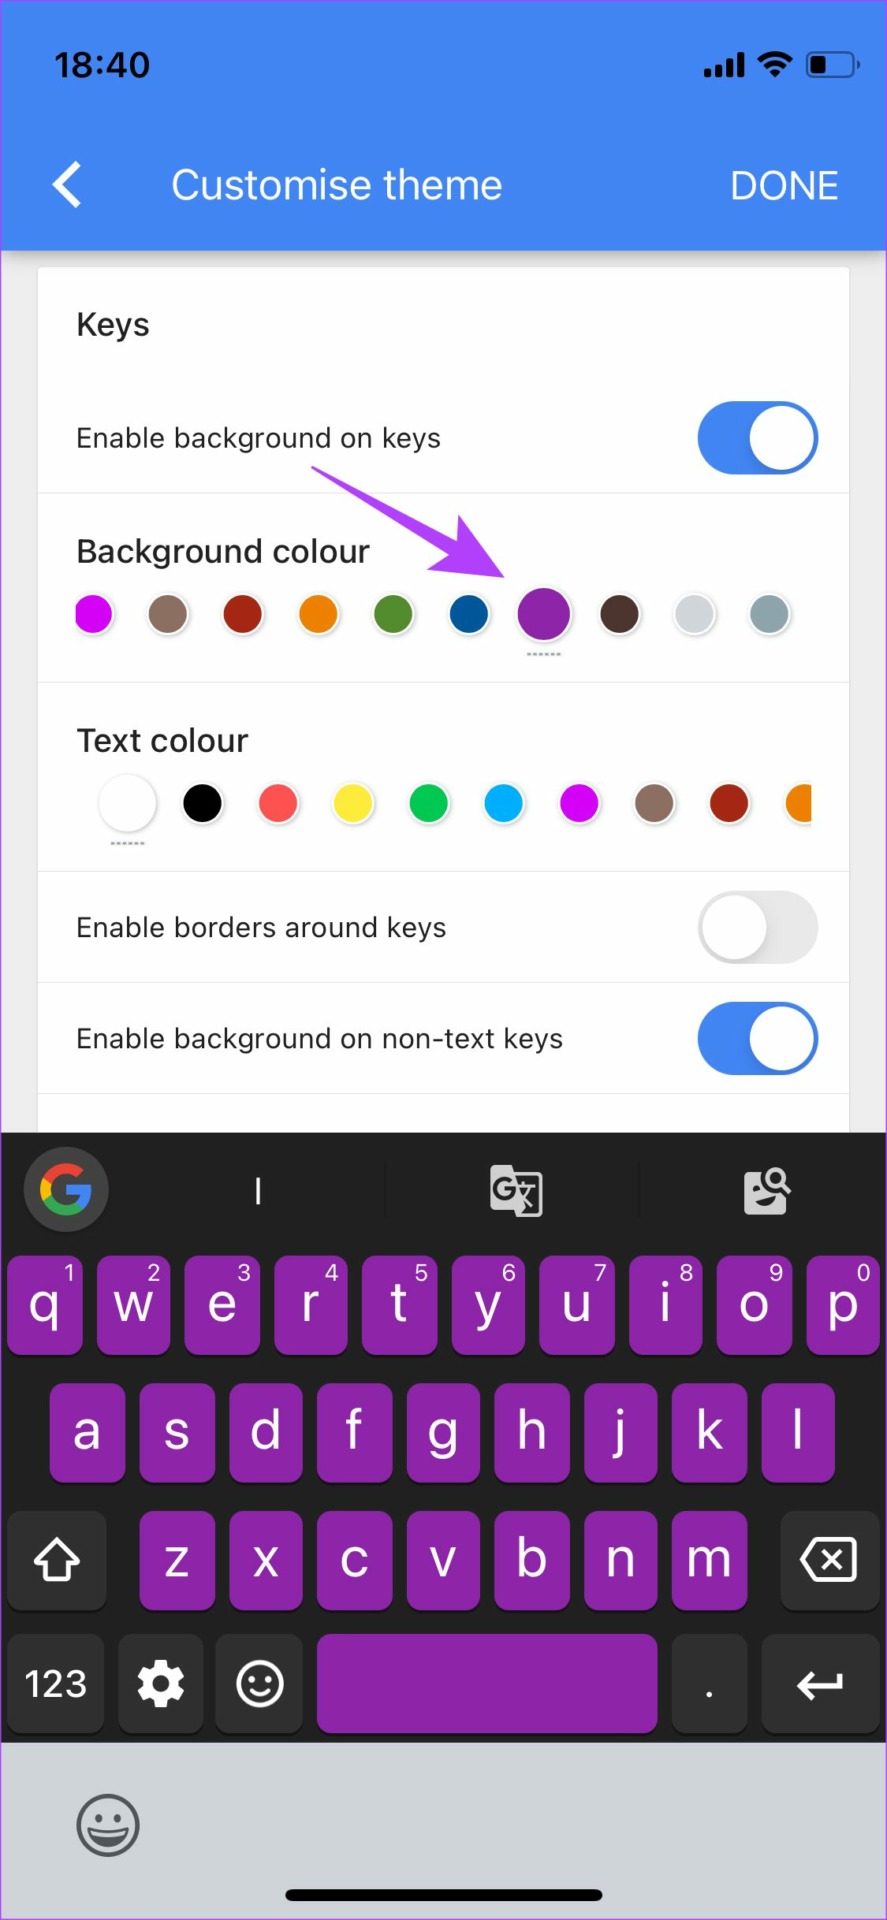
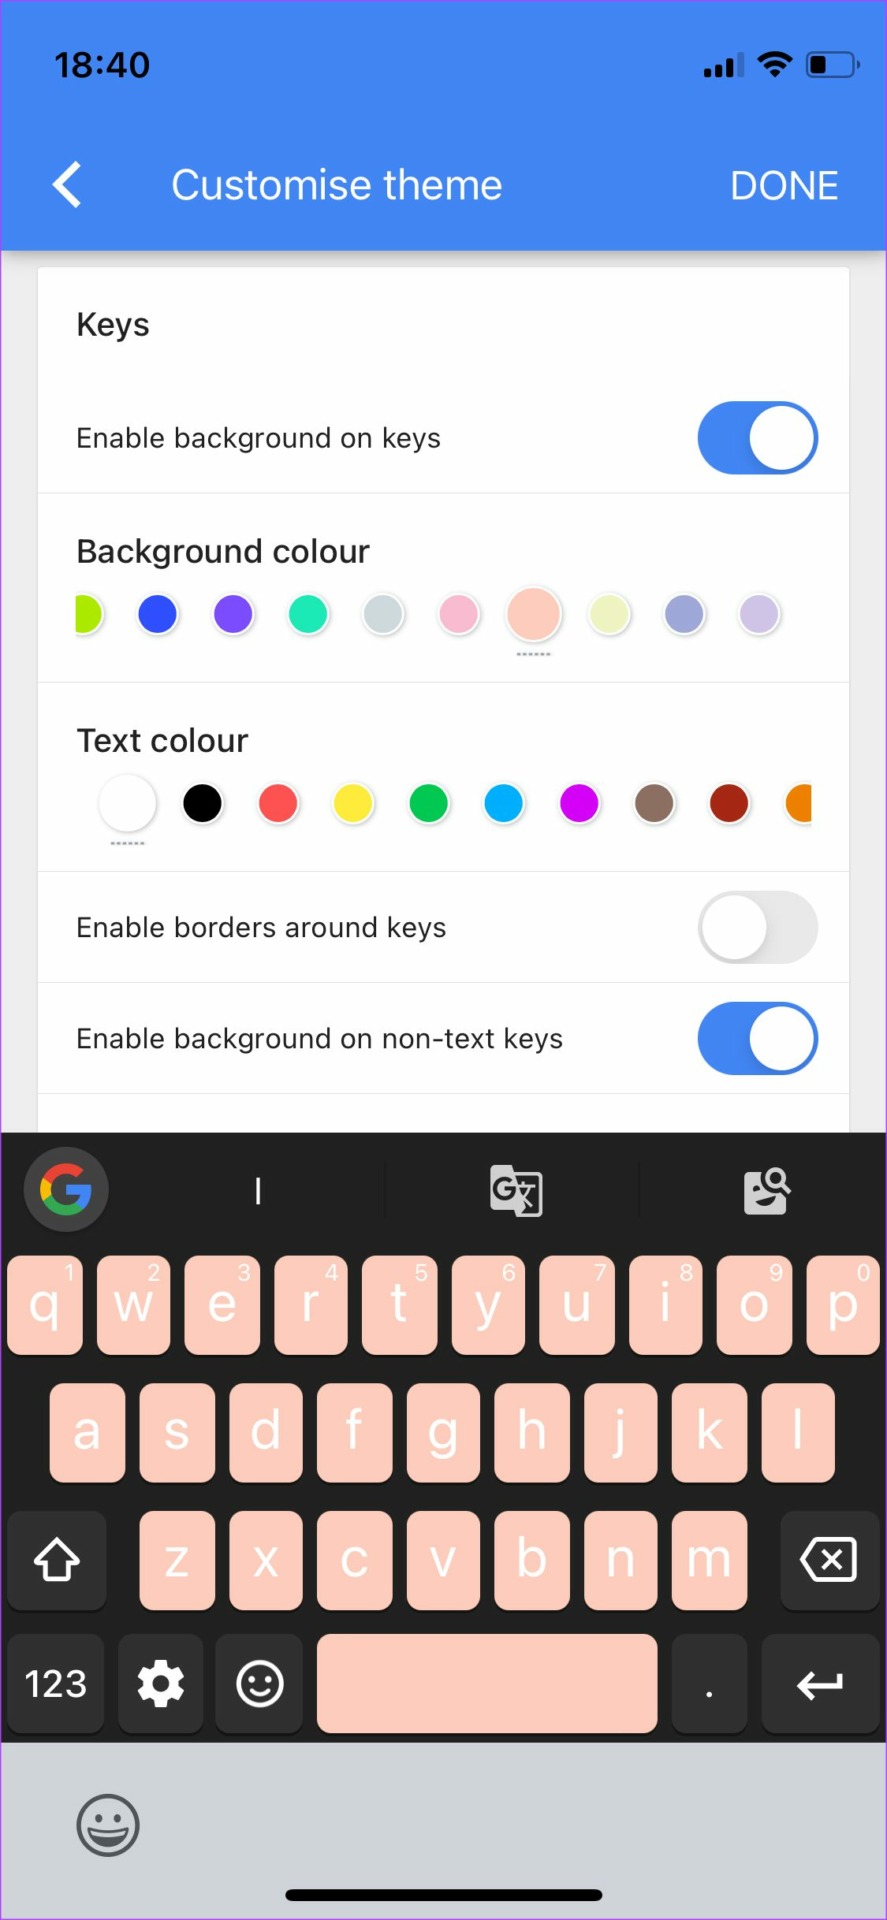
Tap on a color of your choice under the Background color option and see the effect appare on the keyboard below. You can try tapping on all the options till you decide on the one to go with.
Change Keys, Text, and Border Colors
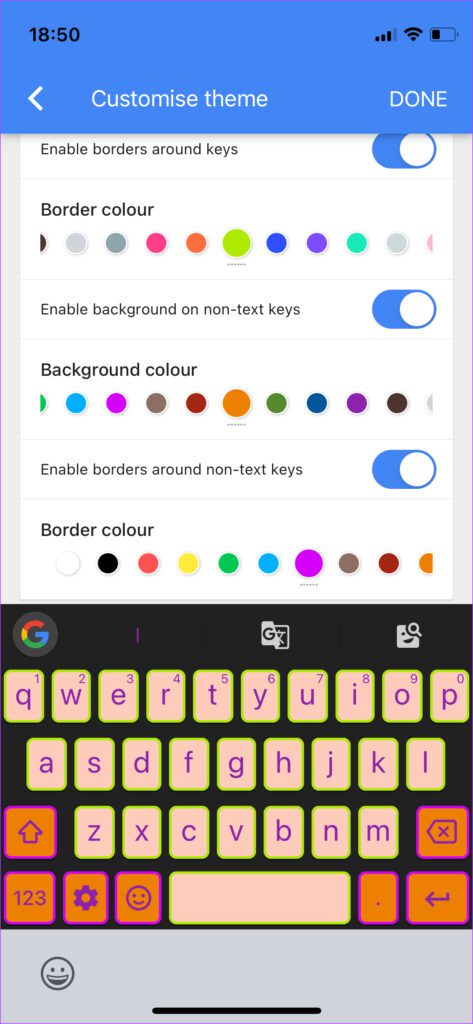
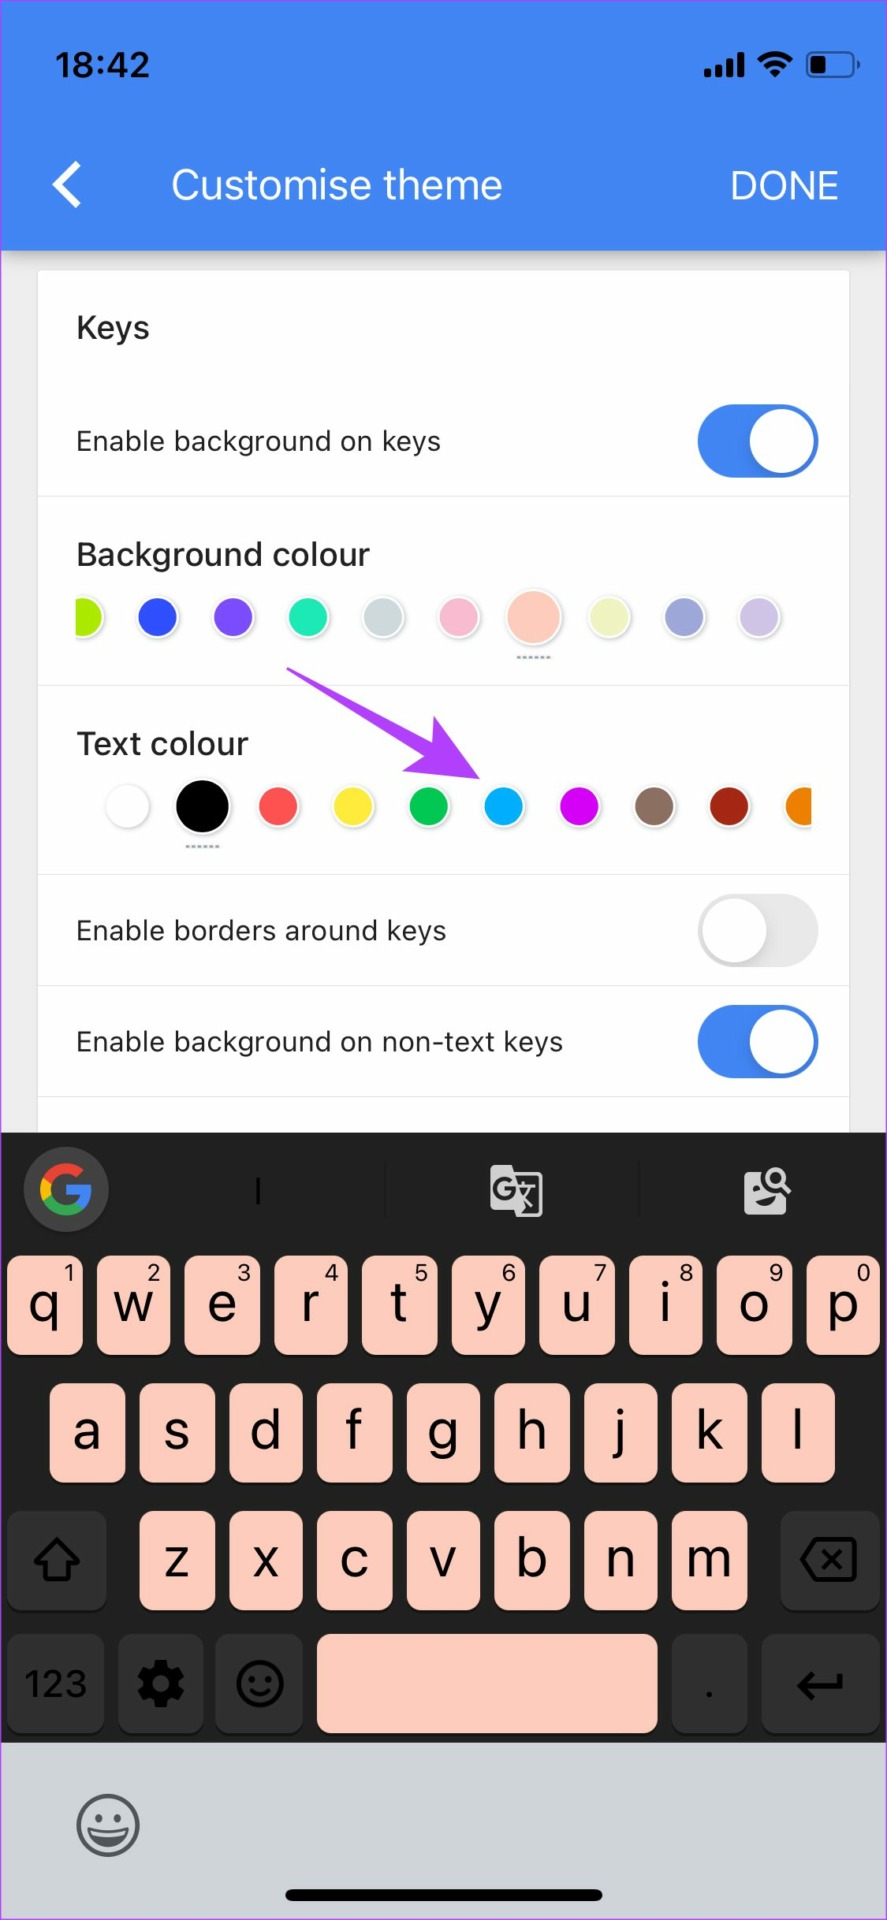
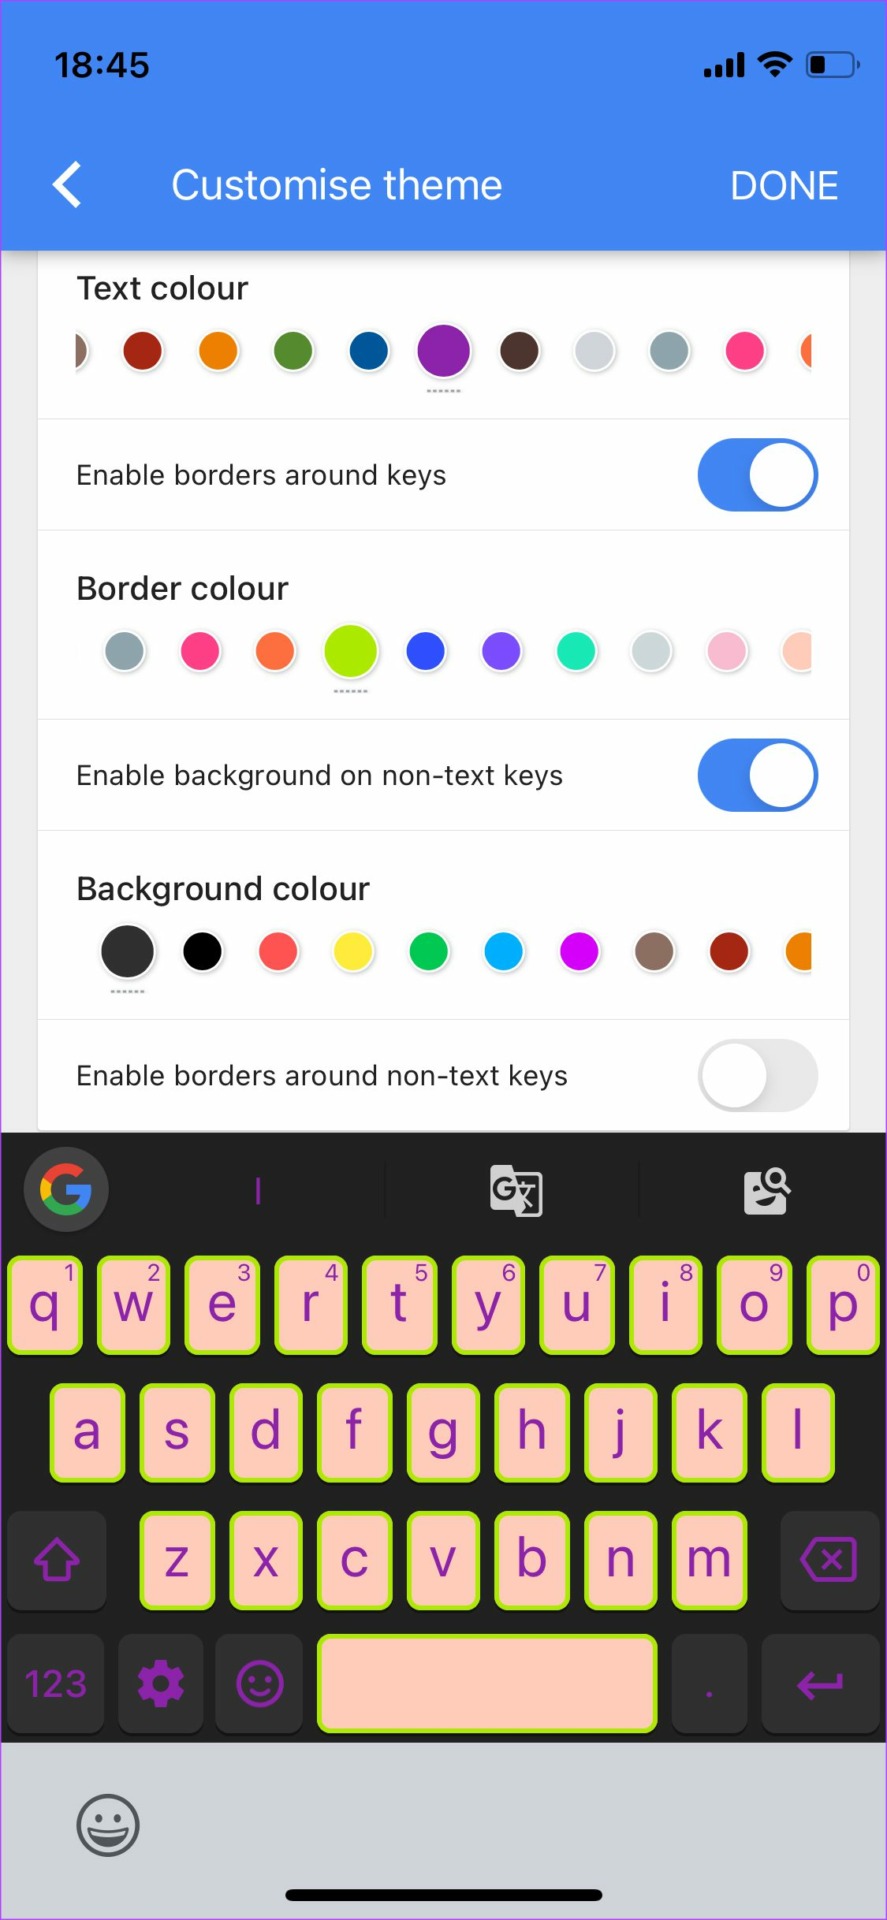
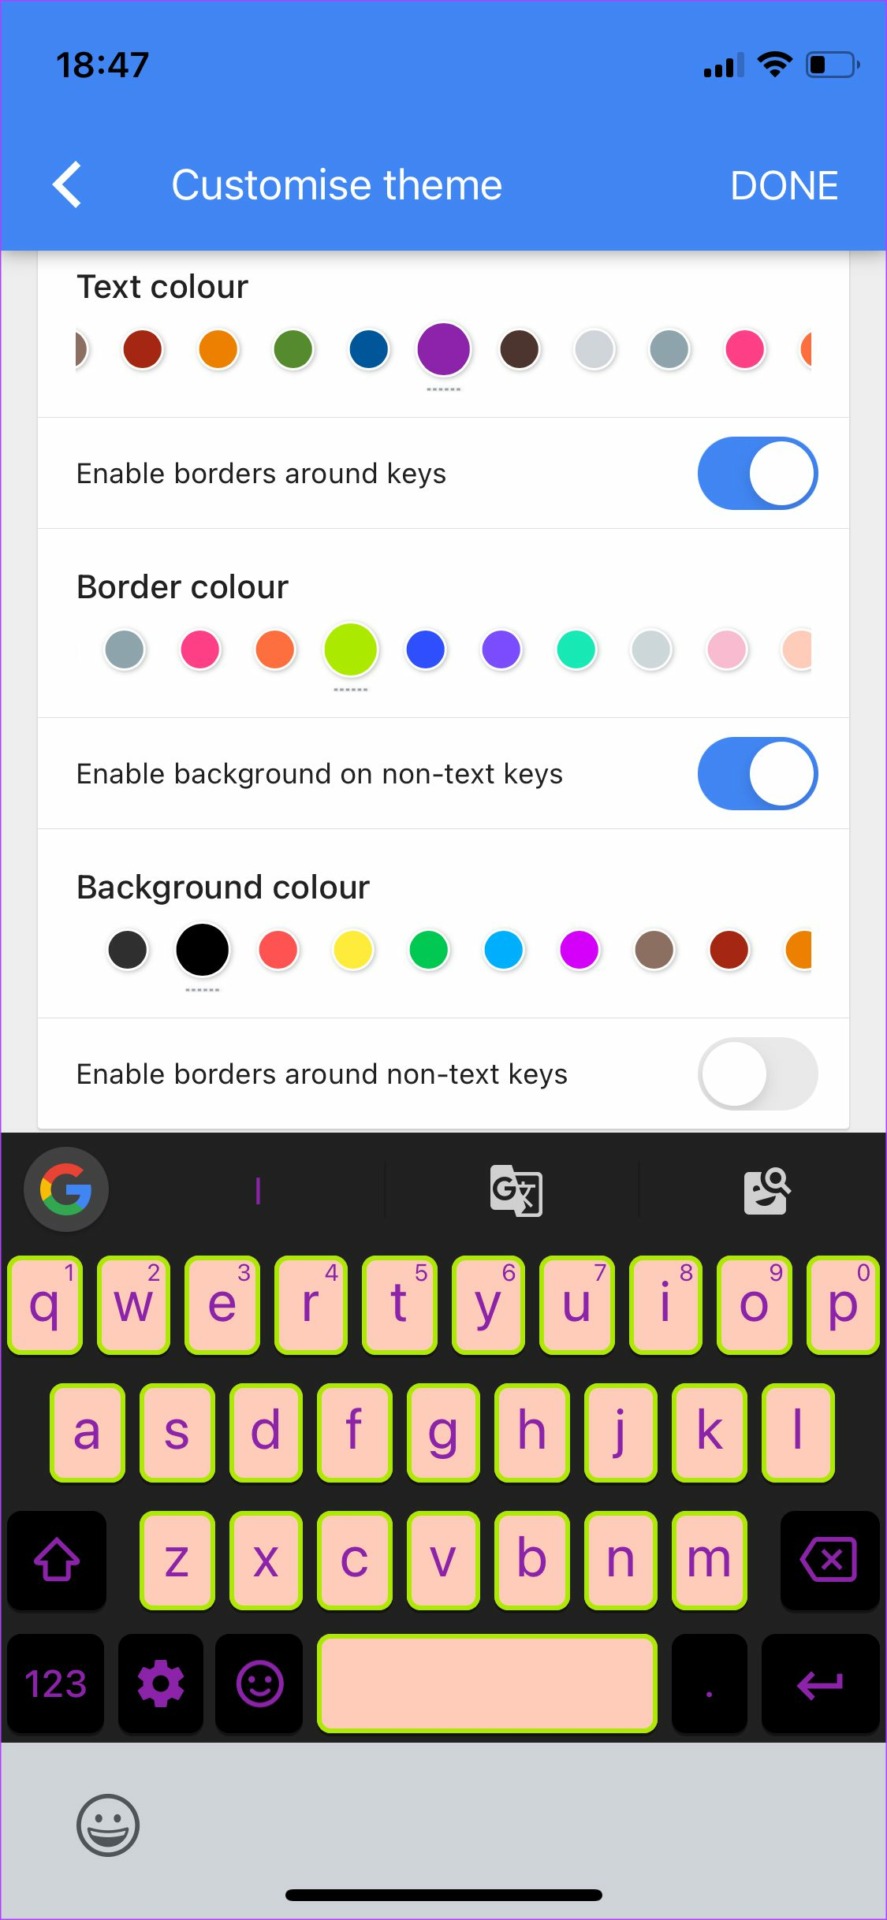
Scroll down to the Keys section. Here, you can choose to disable background for keys entirely by turning off the toggle next to ‘Enable background on keys. You can also turn off ‘Enable background on non-text keys’ for a more uniform look. If you wish to leave the background enabled, you can change the background color by picking from an array of colors. Choosing a light background color would mean you will need a dark text color. You can pick that as well under the Text color option. At this stage, you can also choose to enable an additional border around each key by toggling on the ‘Enable borders around keys’ option. Then, choose a relevant color for the border. If you have enabled background for non-text keys, you can change the color now. These keys include backspace, shift, enter, etc. You can also enable the toggle next to ‘Enable borders around non-text keys’ to add borders to the additional keys for a more uniform look. Select a color under Border color to apply it.
Change Key Pop-Up Colors
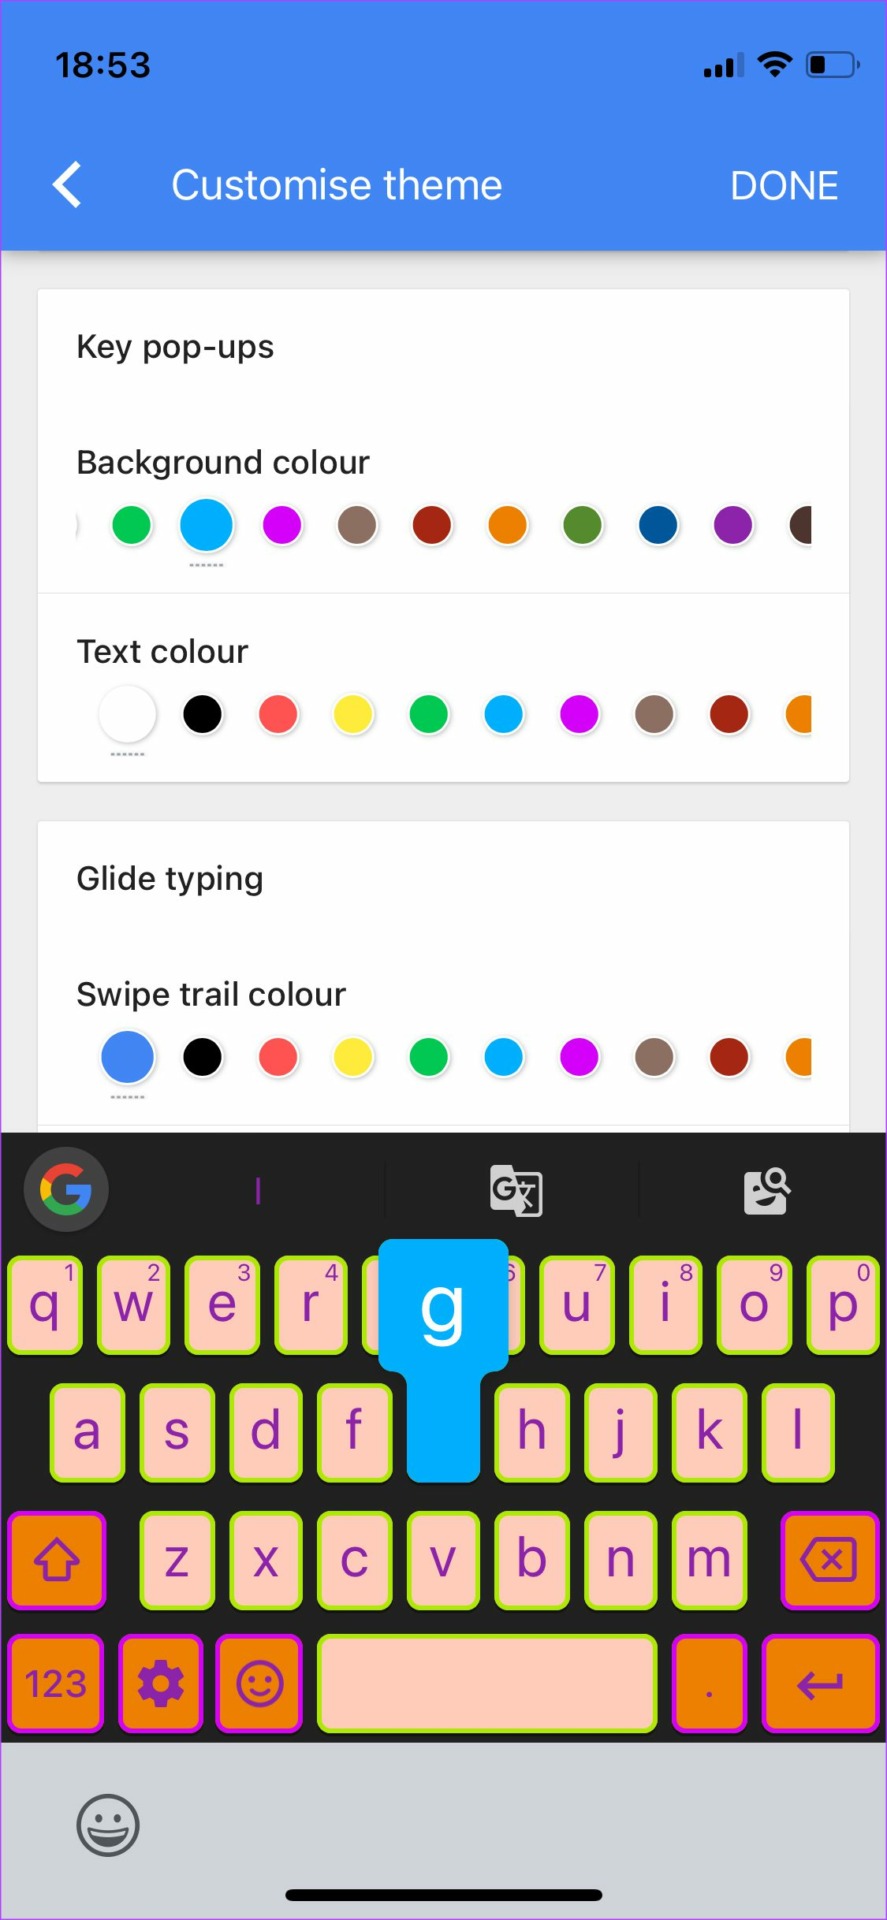
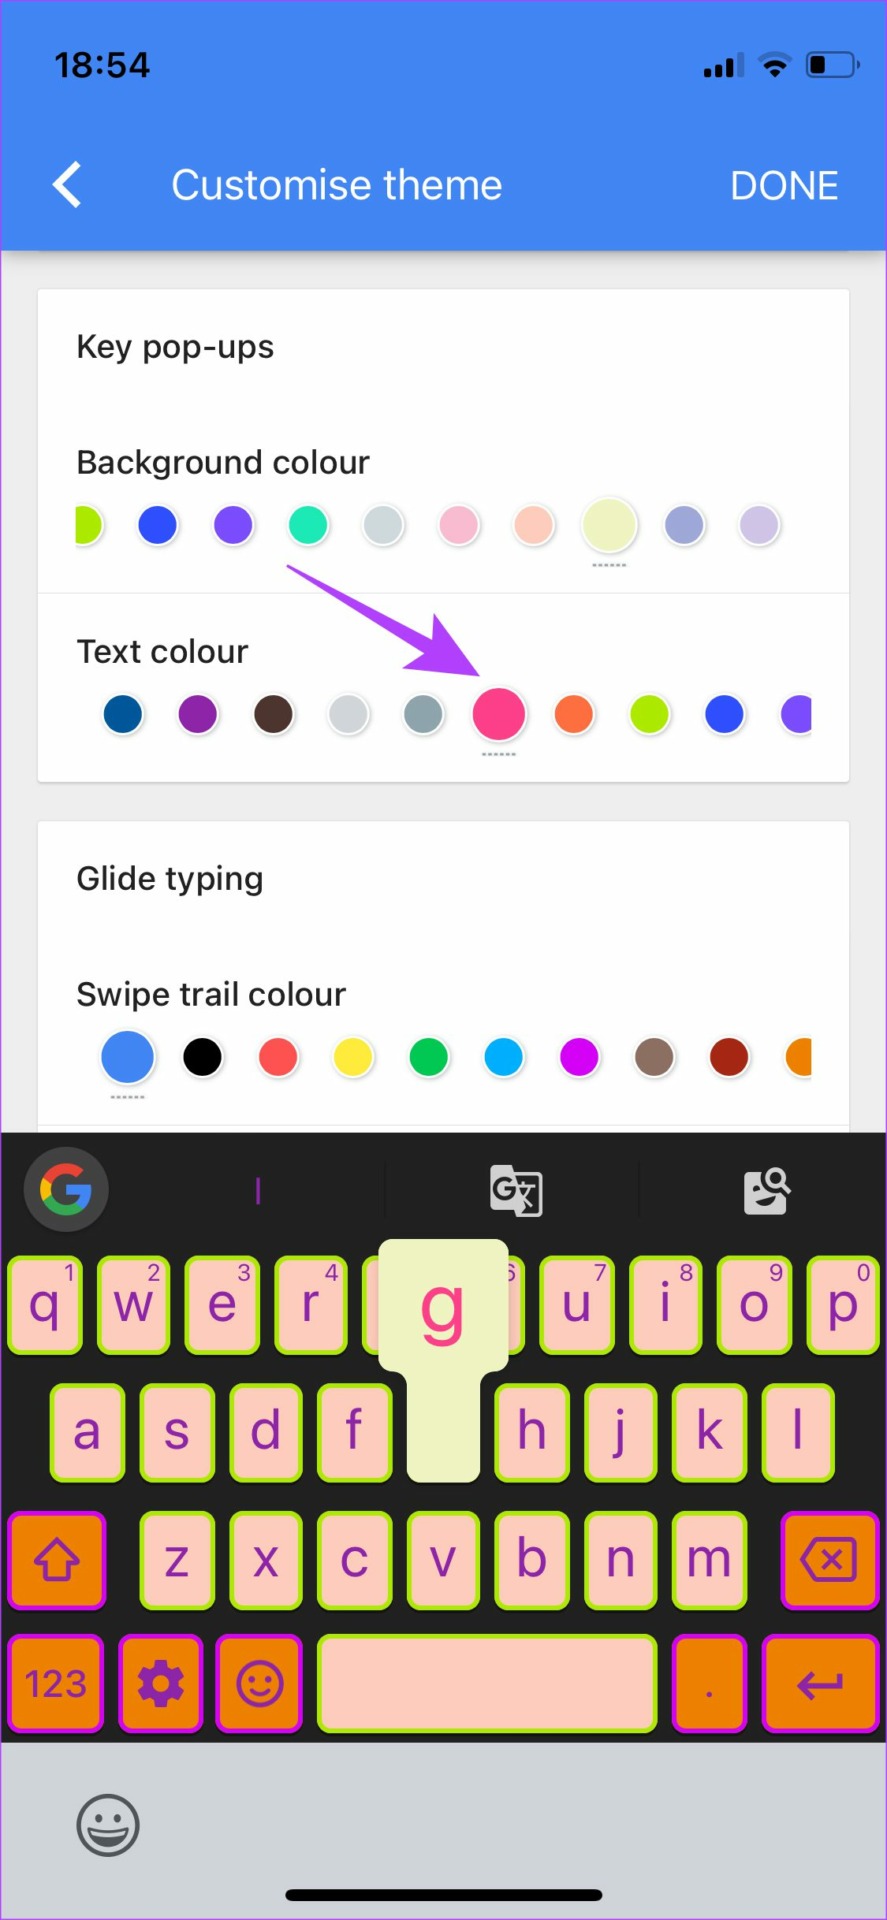
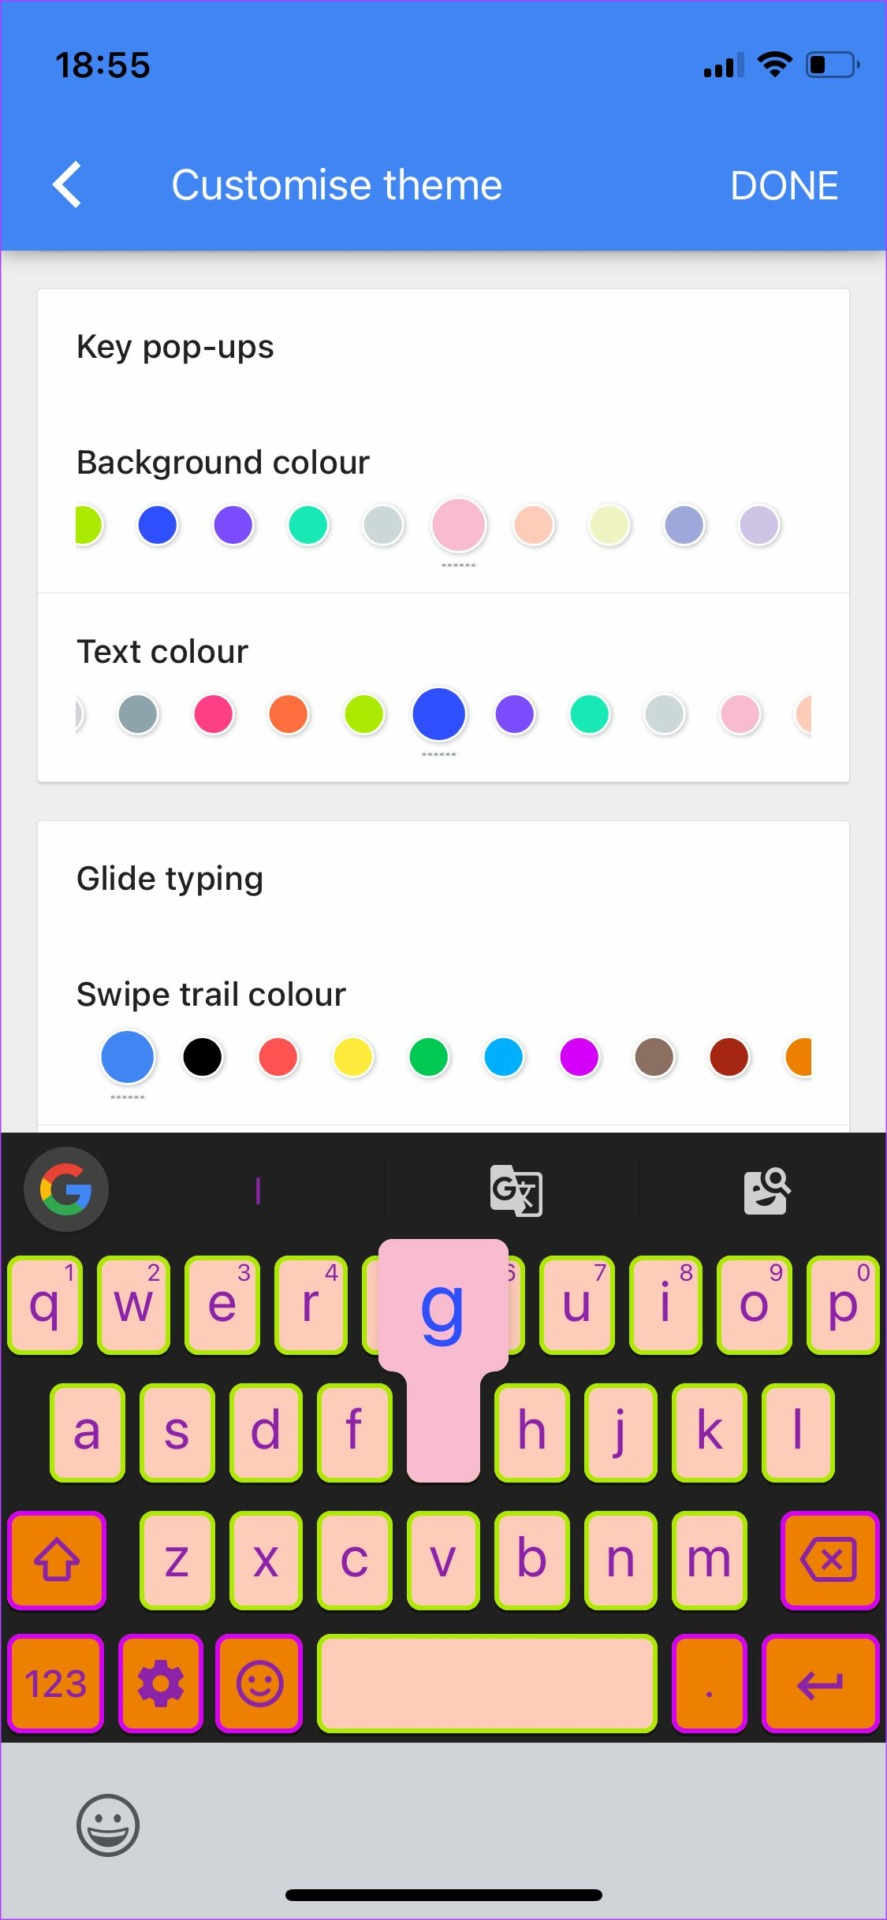
Scroll down further to the Key pop-ups section. Here, you can select the Background color for the key pop-ups. Select a color and then try pressing a key on the keyboard to get an idea of what it would look like. You can also change the text color within the pop-up. Again, tap on a key to test what it looks like.
Change Swipe Trail Colors for Glide Typing
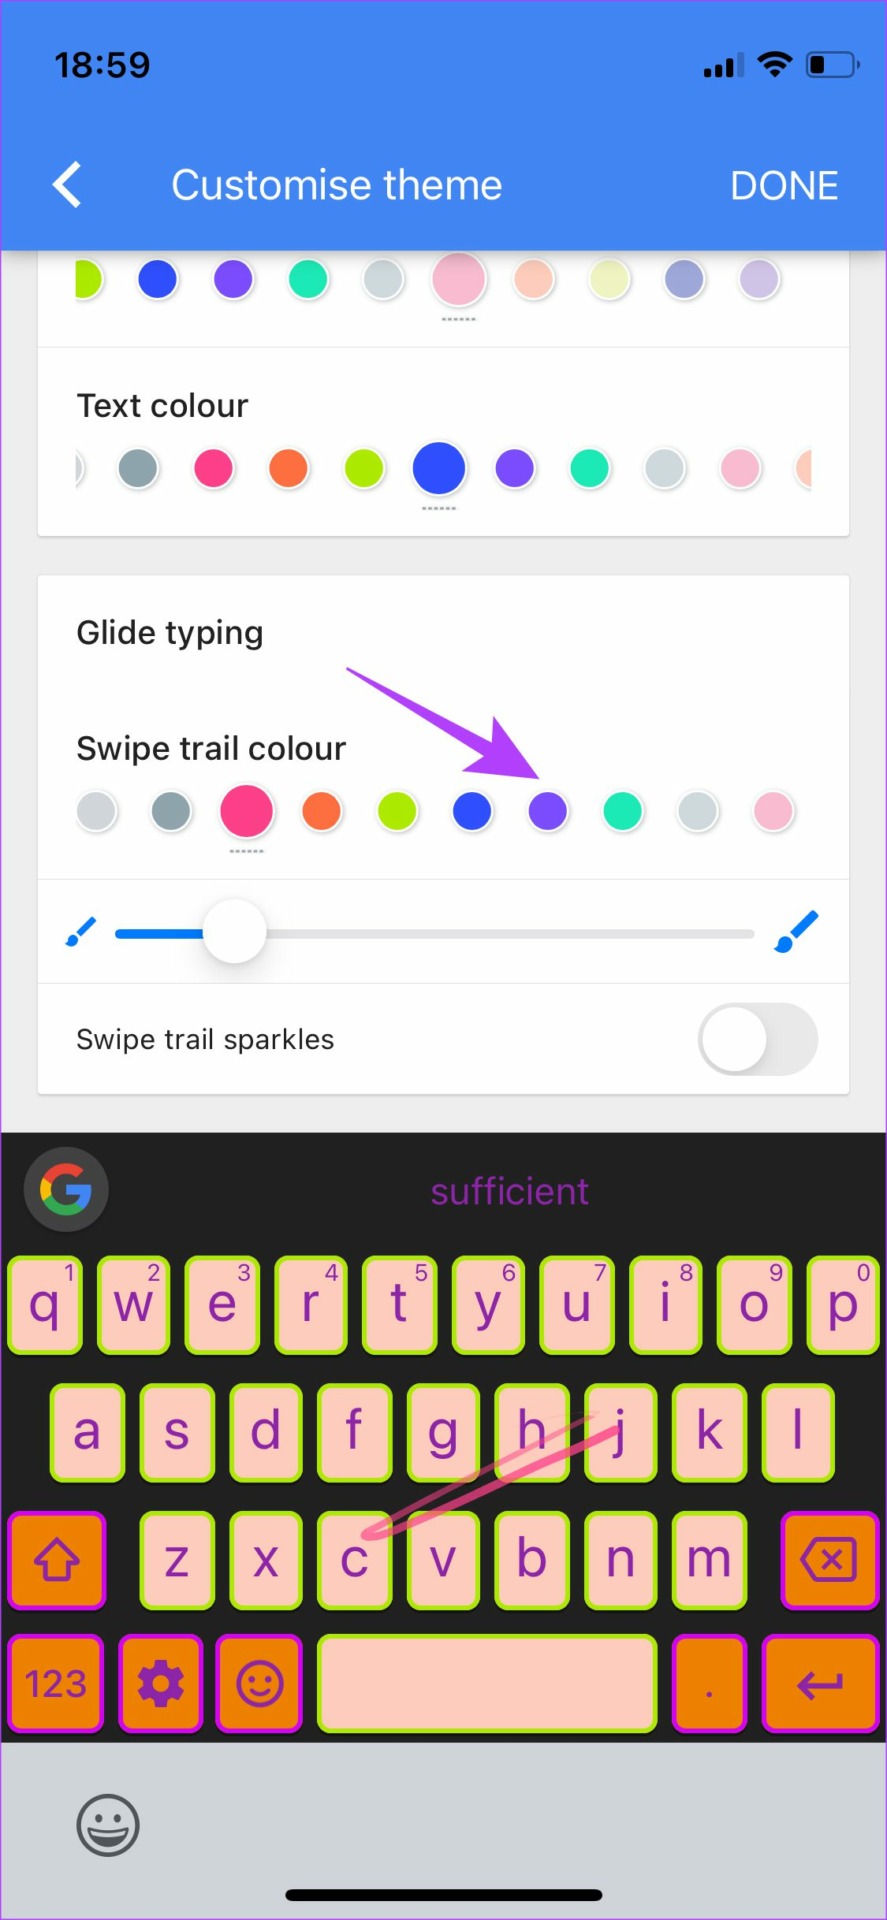
When you type using swipe gestures on your keyboard, Swipe Trail is what you get. You can customize the way it looks by using the color palette under the Swipe trail color.
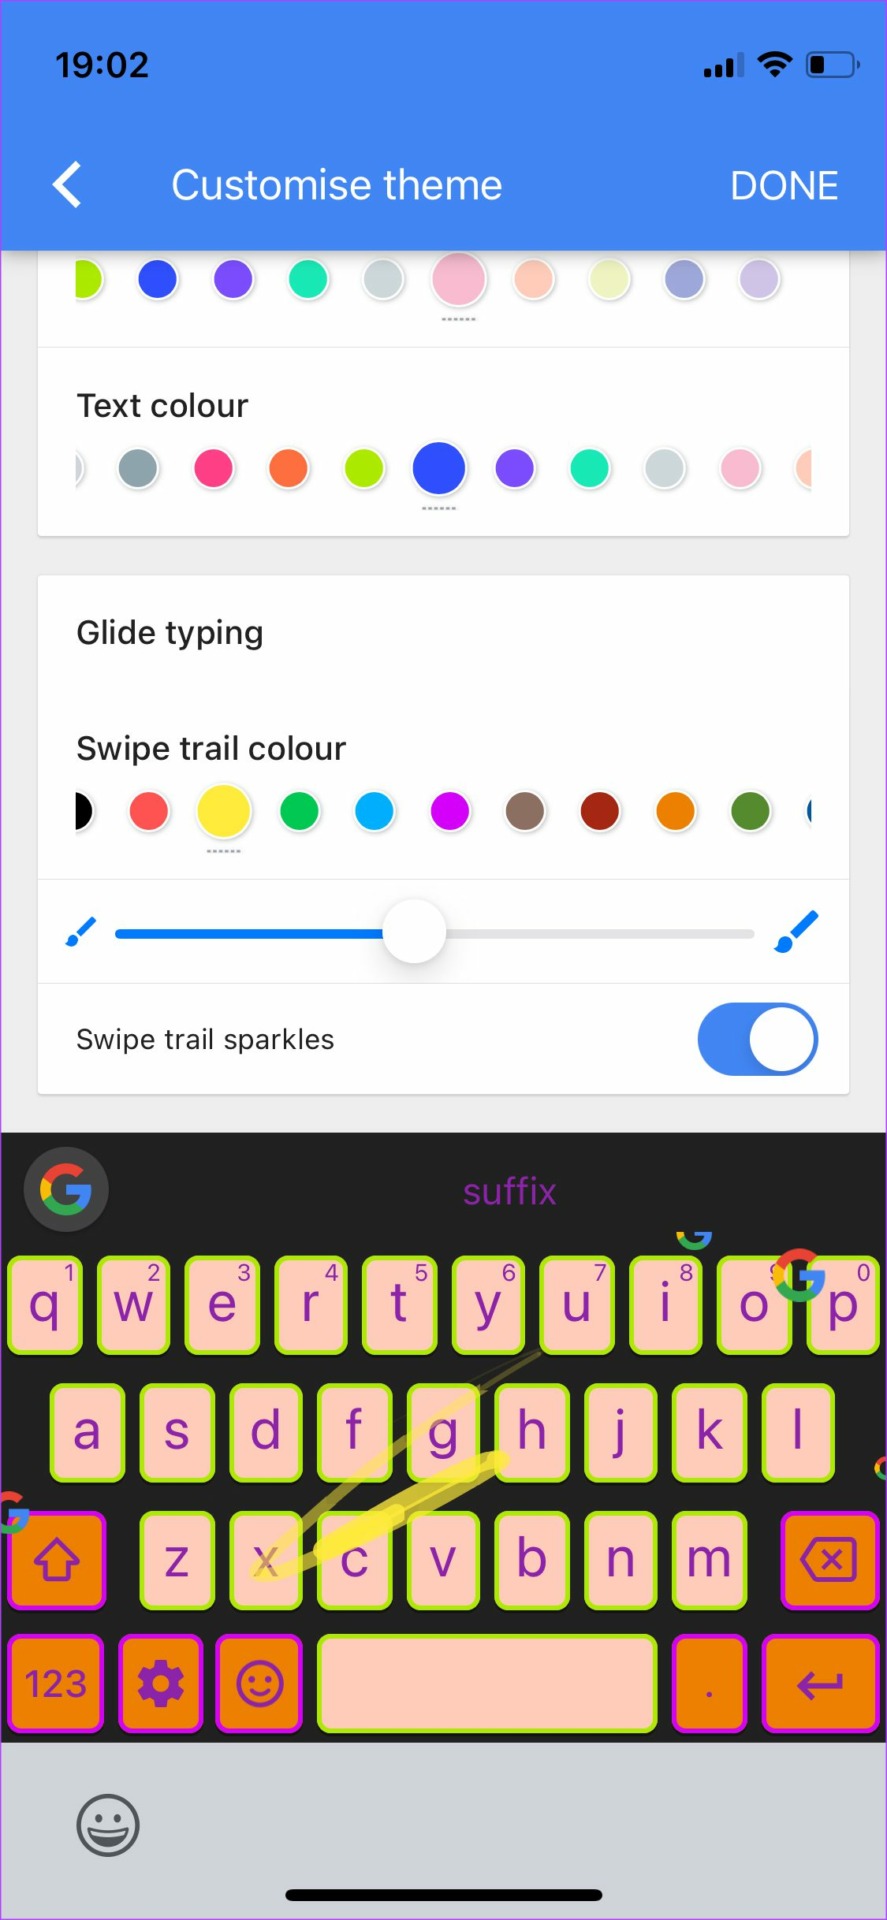
Select a color you like and then swipe on the keyboard to see it in action. You can also use the slider to increase or decrease the thickness of the swipe trail. Enabling the last toggle at the end titled Swipe trail sparkles will add multiple Google logos flying out of all sides on the keyboard while typing.
Saving the Customized Keyboard
Once you have selected and changed all the required settings, tap on the DONE button in the top-right corner of the Gboard app. This will save the keyboard layout.
Enjoy Your Newly Customized Keyboard
With a plethora of themes and customization options, pick the ones you like and personalize your keyboard. Those options stay consistent with all the apps on your Phone. You can even create multiple themes and switch between them for a new look every once in a while.

