If you wish to remove the background from multiple photos on your iPhone, selecting one photo at a time can be a tedious task. So to save you some time, we will show you the most efficient way to remove background from images in bulk on your iPhone.
Check the iOS Version
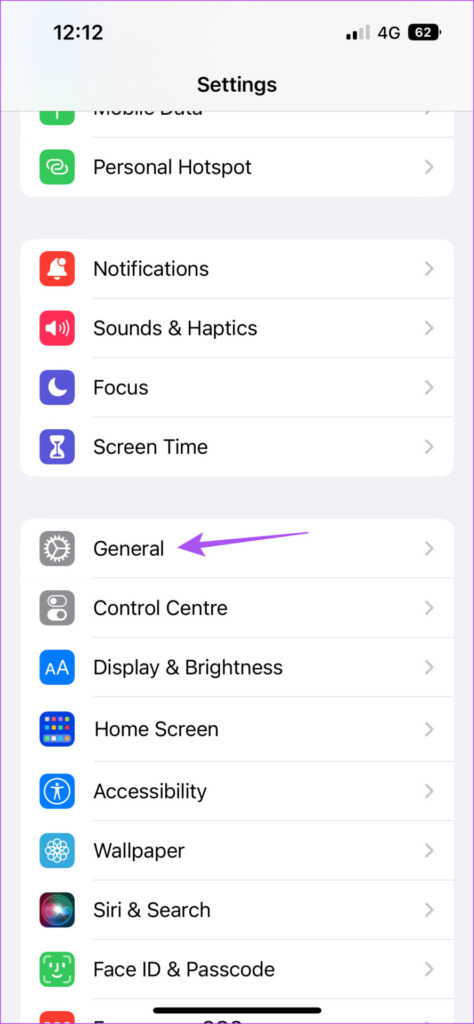
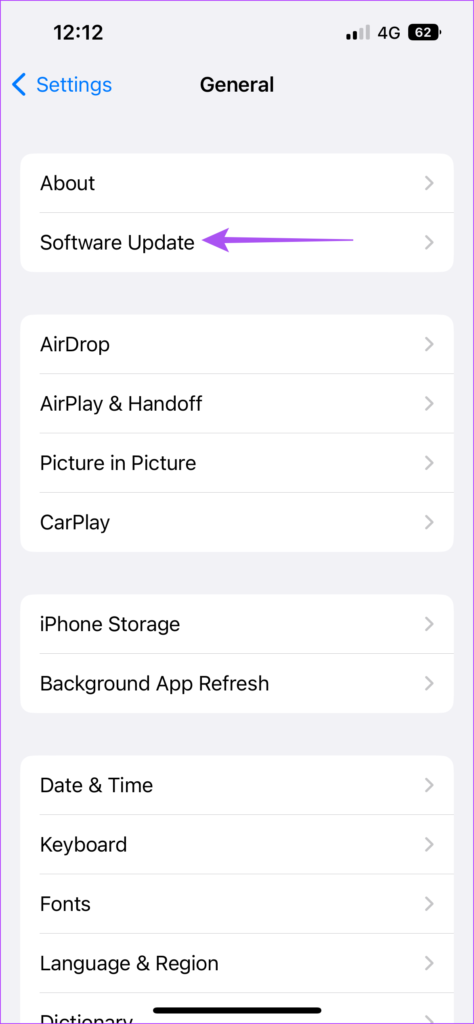
This feature of removing background from images is available in iOS 16. Before starting with the steps, we suggest checking for a software update on your iPhone. Here’s how to do it. Step 1: Open the Settings app on your iPhone.
Step 2: Scroll down and go to General.
Step 3: Tap on Software Update.
Step 4: If an update is available, download and install it.
How to Remove Background from Multiple Images
While the Photos app lets you remove the background from a single image at a time, the Files app on your iPhone can help remove the background from multiple images simultaneously. Here’s how to do it. Step 1: Open the Photos app on your iPhone.
Step 2: Select all the photos whose backgrounds you wish to remove. Step 3: Once selected, tap the Share icon in the bottom-left corner.
Step 4: Scroll down the list of options and tap on Save To Files.
Step 5: Select the location or folder from the Files app Splash Screen.
Step 6: Tap on Save at the top-right corner to save your images in that location.
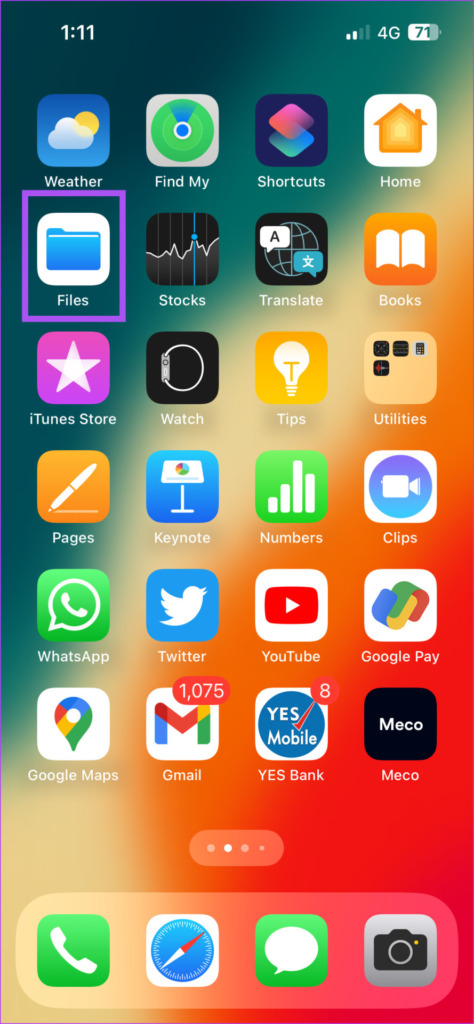
Step 7: Close the Photos app and open the Files app on your iPhone.
Step 8: Go to the folder location where you save your photos. Step 9: Tap the three dots in the top-right corner.
Step 10: Tap on Select from the list of options.
Step 11: Select all the photos to remove their backgrounds.
Step 12: Once selected, tap the three dots in the bottom-right corner.
Step 13: Tap on Remove Background from the list of options.
You will see that in just a few moments, the backgrounds will be removed from those images and new files will be created in the same folder.
How to Change Image File Format in Files App
After removing the background from an image, the file is saved in PNG format. If you have a lot of such images saved in PNG format, it will affect the internal storage of your iPhone in the long run. But the Files app lets you convert those PNG files to JPEG format. This is also helpful if you have high-quality photographs stored on your iPhone that are larger. Here’s how to convert the image file format using the Files app. Step 1: Open the Files app on your iPhone.
Step 2: Go to the folder or location where your PNG files with removed backgrounds are stored. Step 3: Tap the three dots in the top-right corner.
Step 4: Tap on Select from the list of options.
Step 5: Select all the PNG files.
Step 6: Tap on the three dots in the bottom-right corner after selecting the images.
Step 7: Tap on Convert Image from the list of options.
Step 8: Select JPEG under File Format in the top-left corner.
Step 9: Select the Image Size of your choice in the top-left corner.
After a few moments, the Files will convert your PNG files to JPEG.
Bonus Tip – How to Convert Image File to PDF
Here’s how you can convert an image file to PDF format using the Files app on your iPhone. Do make sure that the image is already saved in the Files app. Step 1: Open the Files app on your iPhone.
Step 2: Go to the file location where your image is saved. Step 3: Tap the three dots in the top-right corner.
Step 4: Tap on Select from the list of options.
Step 5: Select the file that you want to convert. Step 6: Tap the three dots in the bottom-right corner.
Step 7: Select Create PDF from the list of options.
The PDF file will be created in the Files app.
No More Separate App Needed
The Files app has made it easier to remove image backgrounds from multiple images simultaneously. Time to say goodbye to third-party apps! We have also covered the steps to remove the background from an image on Mac using Preview app.


