Whether you use your GPU’s companion app or the Windows 11 Settings app, setting a preferred GPU for select graphics-demanding apps and games is a good idea. Before we show you how to make apps and games select the preferred GPU on your computer, let’s first understand why you should set that in the first place.
Why Should You Set a Preferred GPU for Apps and Games
Before you go any further and learn how to set your preferred GPU on a per-app basis in Windows 11, let’s look at why you should manually select a preferred GPU for apps and games rather than allowing Windows to choose it for you automatically.
1. Reduce Your PC’s Power Consumption
One of the most immediate advantages of setting your preferred GPU is that it will lead to reduced power consumption. As opposed to continuously running in the background, optimizing a GPU to run on a per-app basis will only turn itself on when you hit your PC with a particular workflow, such as gaming. It is beneficial for gaming laptops that don’t offer a great battery life.
2. Reduce Your PC’s Heat Generation
Higher power consumption requires more electricity and directly leads to more heat generation. However, if you choose the preferred GPU on a per-app basis, you can make graphics chip to consume only necessary power, thereby leading to lower heat generation.
That means the components inside will have more wiggle room to run faster and longer – mostly because they aren’t overheating. Also, your PC fans won’t run loud all the time to keep the internal components cool inside.
3. Optimize Your PC’s Graphical Performance
Though many high-end PC’s come with integrated and dedicated GPUs, Windows leaves it entirely up to you to decide which GPU should be used for specific workloads. Meanwhile, if you were to intervene and assign your GPU resources on a per-app basis, it’ll help to make best of the graphics chip inside to eke out the graphic performance potential based on the app or games you use.
4. Improve Your PC’s CPU Performance
When you assign apps to choose a specific GPU, it reduces the CPU overhead by a few percent since it has to work a bit less to figure out the details otherwise. While that frees up the processor’s load, you can use it for processing-heavy tasks without worrying. Now that you know the reasons why you should choose your preferred GPU on a per-app basis, let’s take a look at how you can do so on your Windows 11 PC through the Settings app as well as the dedicated app that is supported by your NVIDIA or AMD GPU:
Set the Preferred GPU for Apps and Games Using Settings
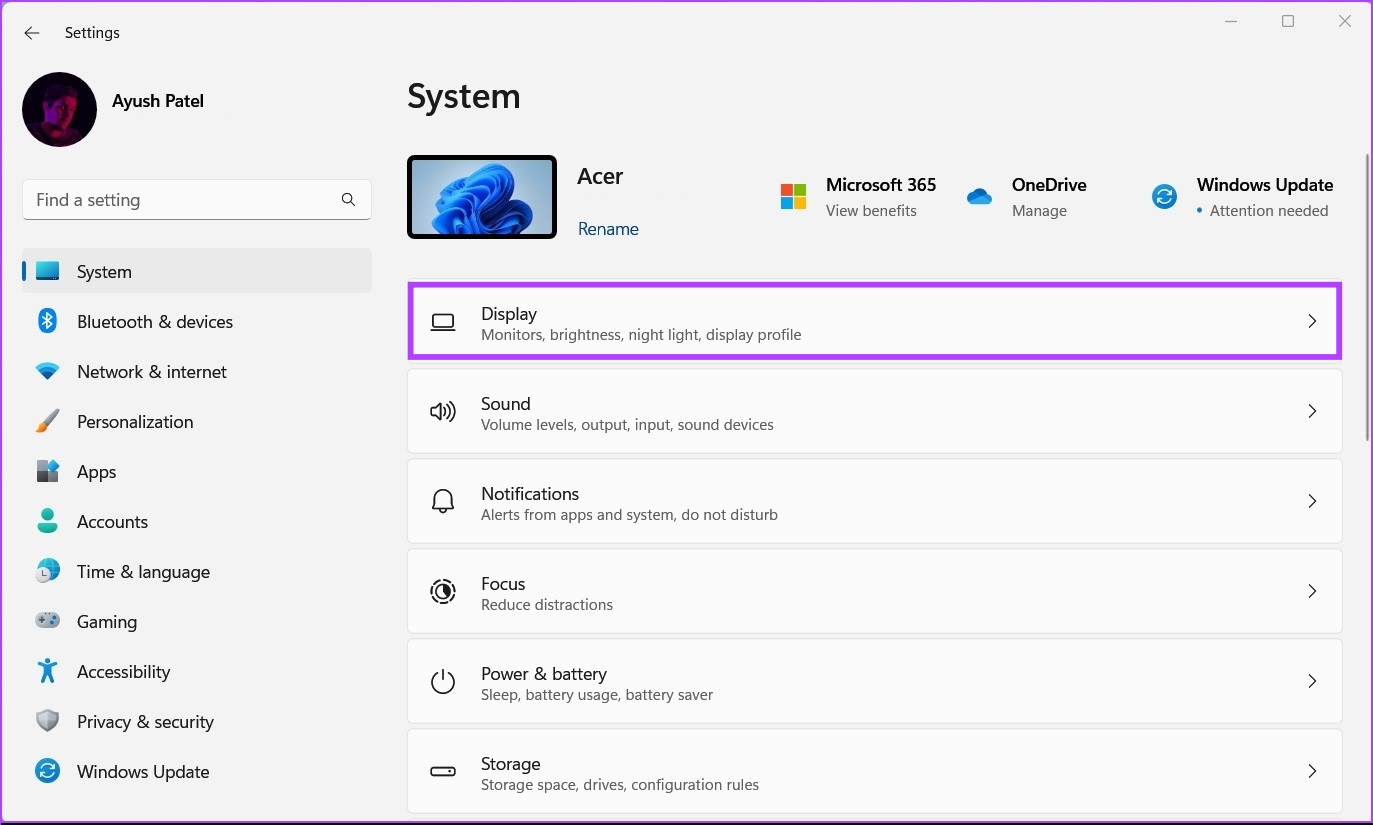
Windows 11 redesigns the Settings app and includes the options to change the Display parameters, which includes choosing the GPU for apps and games. Here’s how to use the settings app on your Windows 11 computer to set the preferred GPU: Step 1: Press the Windows + I shortcut to open the Settings app and click on Display.
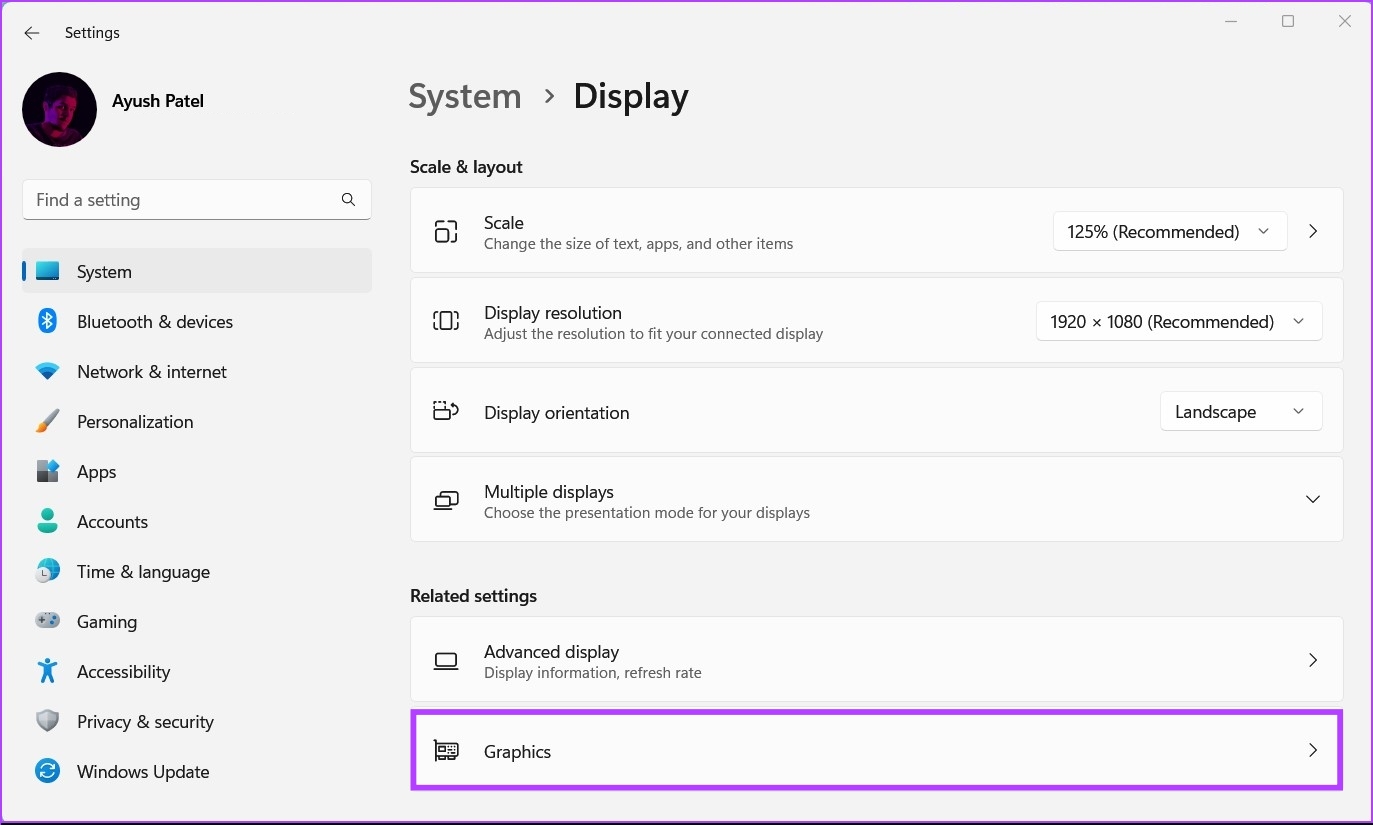
Step 2: Under display settings, scroll down and click Graphics.
Step 3: Use the drop-down pointed in the image below to select the Desktop app or Windows Store app option depending on the type of app you want to configure. Then, click on Browse.
Step 4: In the File Explorer window that appears, navigate to your preferred game or app’s install location and select its *.EXE file or shortcut. Then, click Add. If you can’t find the app you’re looking for, try navigating to the default ‘Program files’ and ‘Program file (x86)’ installation folders located on your system’s Windows drive.
Step 5: After adding the app, click on Options.
Step 6: In the Graphics preference dialog, select your preferred GPU and click Save. Power saving option – choosing the processor’s integrated graphics chip, which uses less power. High performance option – choosing a dedicated graphics chip that delivers better performance but consumes more power.
Set the Preferred GPU for Apps and Games Using NVIDIA Control Panel
If your computer has an NVIDIA graphics chip inside, it’s quite likely that your computer has the NVIDIA Control Panel installed. It’s a handy application to set the preferred GPU for apps and games. Here’s how you can use it. Step 1: Press Windows + S keys shortcut to open Windows Search and type NVIDIA Control Panel. Then, under the search result, click on Open.
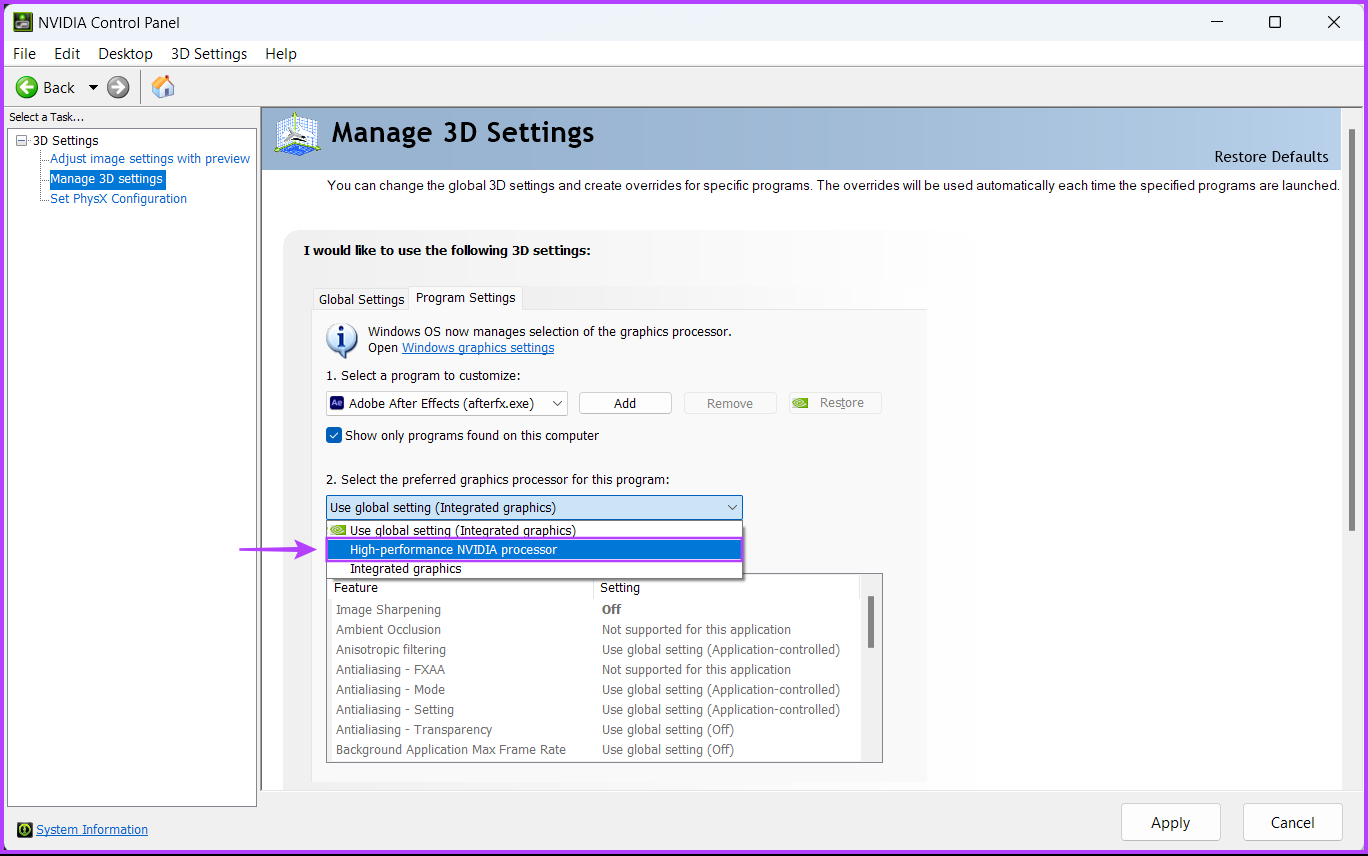
Step 2: Inside the NVIDIA Control Panel, click on the ‘Manage 3D Settings’ option in the left column.
Step 3: On the right pane, click on the Program Settings tab.
Step 4: Under the Program Settings tab, click on the Add button.
Step 5: Scroll down and select the app you want to configure. If you can’t find the app you’re looking for, click the Browse button.
Step 6: When the File Explorer window opens, navigate to your preferred game or app’s install location and select its *.EXE file. Then, click Add. If you don’t know the install location of the app you’re looking for, try navigating to the default ‘Program files’ and ‘Program file (x86)’ installation folders located on your system primary Windows drive.
Step 7: Now click on the ‘Use Global setting (integrated graphics)’ drop-down and select ‘High-performance NVIDIA processor’ or Integrated graphics as per your preference.
Step 8: Next, click Apply to save the changes.
Set the Preferred GPU for Apps and Games Using AMD Radeon Graphics
AMD Radeon GPUs offer a similar method to let you assign apps and games to choose the dedicated graphics. If your computer has a AMD GPUs that came out before 2015, you can using AMD Radeon Settings. However, if your computer houses a modern Radeon graphics chip (released after 2015), take help of the AMD Software Adrenaline Edition to configure the apps and games to choose dedicated graphics accordingly.
Optimize Performance By Managing Your GPU Usage Effectively
Configuring the apps and games to choose a dedicated or integrated GPU will certainly improve the performance – of the apps and the system. While Windows 11 will retain those settings, unless you change or reinstall Windows, you only need to confirm whether the app can make the best of extra graphics muscle. However, even your casual games will perform better with graphics and be more responsive.