However, you’ll need to be careful before randomly changing the drive letter. Most importantly, when you have software or games installed in a separate partition or drive. That could break how these programs work. Before we show you how to change the drive letters in Windows 11, here are a few things you should know.
When Should You Not Change the Drive Letter on Windows
You should not change the drive letter of a drive where Windows is installed. Changing the boot drive letter can result in several problems with the operating system. In the worst-case scenario, your computer may fail to boot. Changing the drive letter of a drive where you’ve installed your apps and programs can cause them to stop working. Hence, it’s best to change the drive letter before you start using the drive.
So, if you haven’t installed any programs on your drive or if it’s an external drive, you can change drive letters without any issues. Let’s look at a few different ways to change a drive letter on Windows 11.
1. Change a Drive Letter Using the Settings App
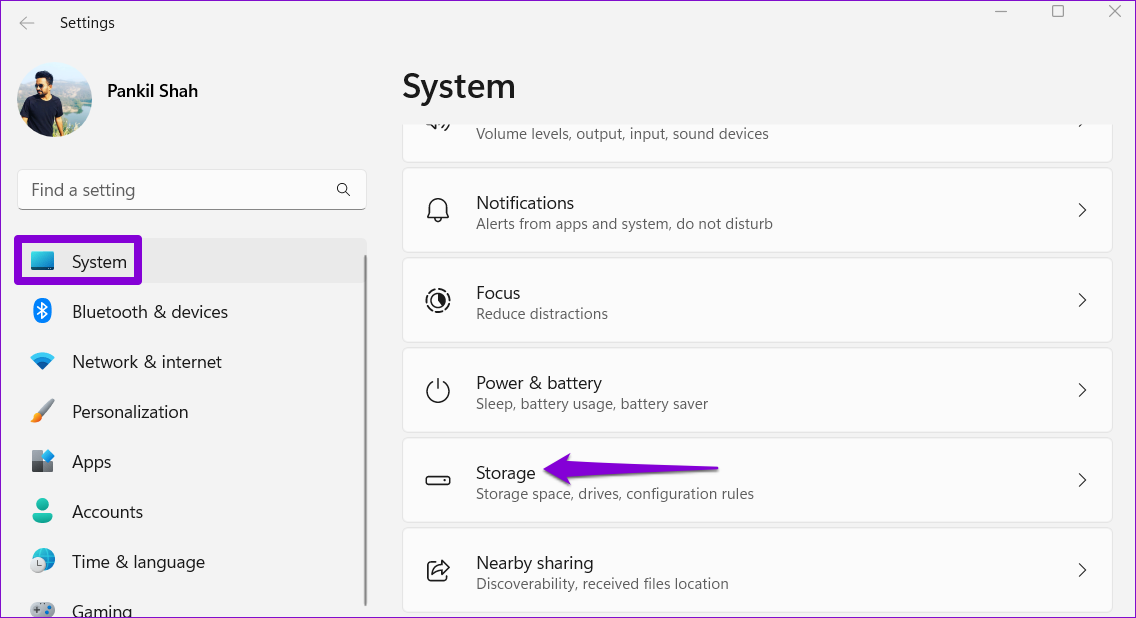
The easiest way to change the drive letter on Windows is via the Settings app. So, let’s start with that. Step 1: Press the Windows key + I to launch the Settings app. In the System tab, click on Storage.
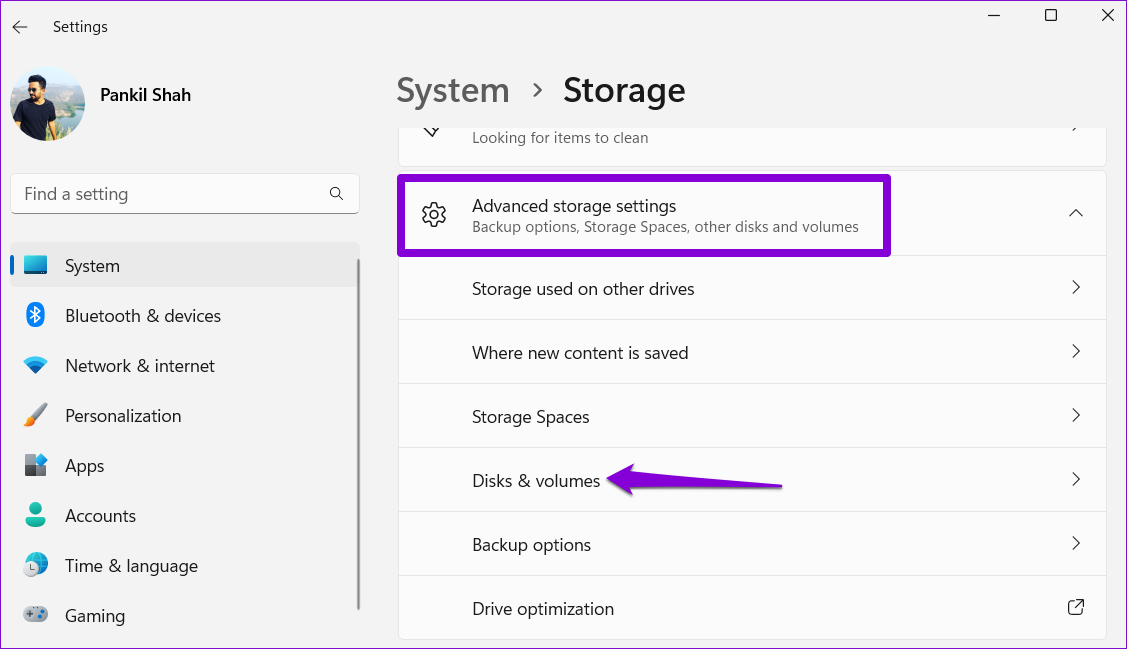
Step 2: Expand Advanced storage settings and click on Disks & volumes.
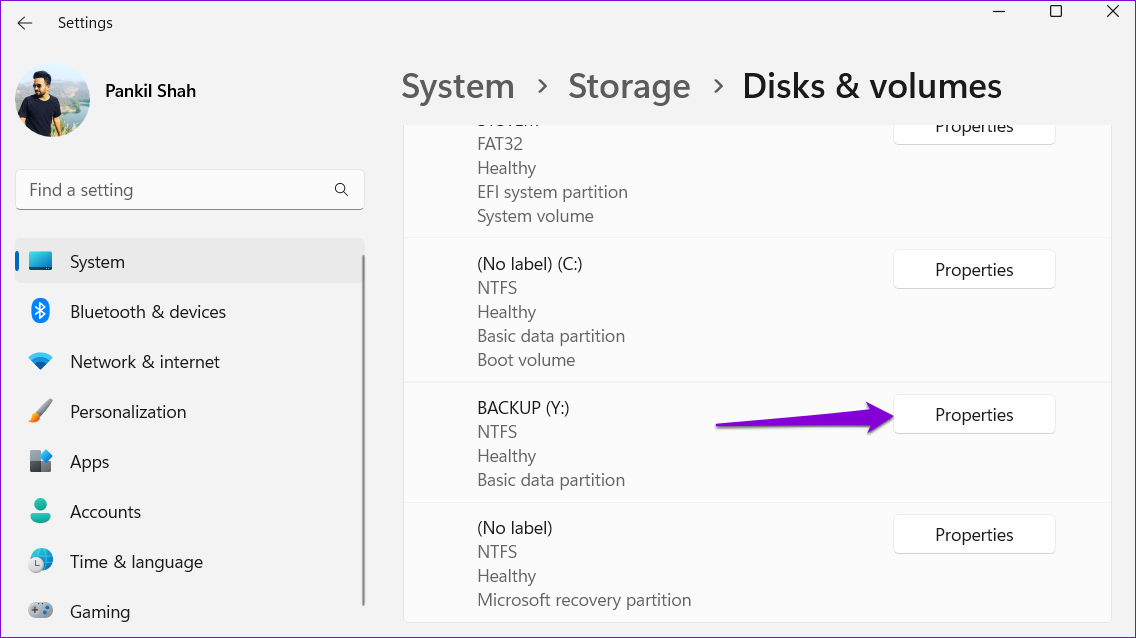
Step 3: Open the Properties of the drive to which you want to assign a new drive letter.
Step 4: Click the Change drive letter button.
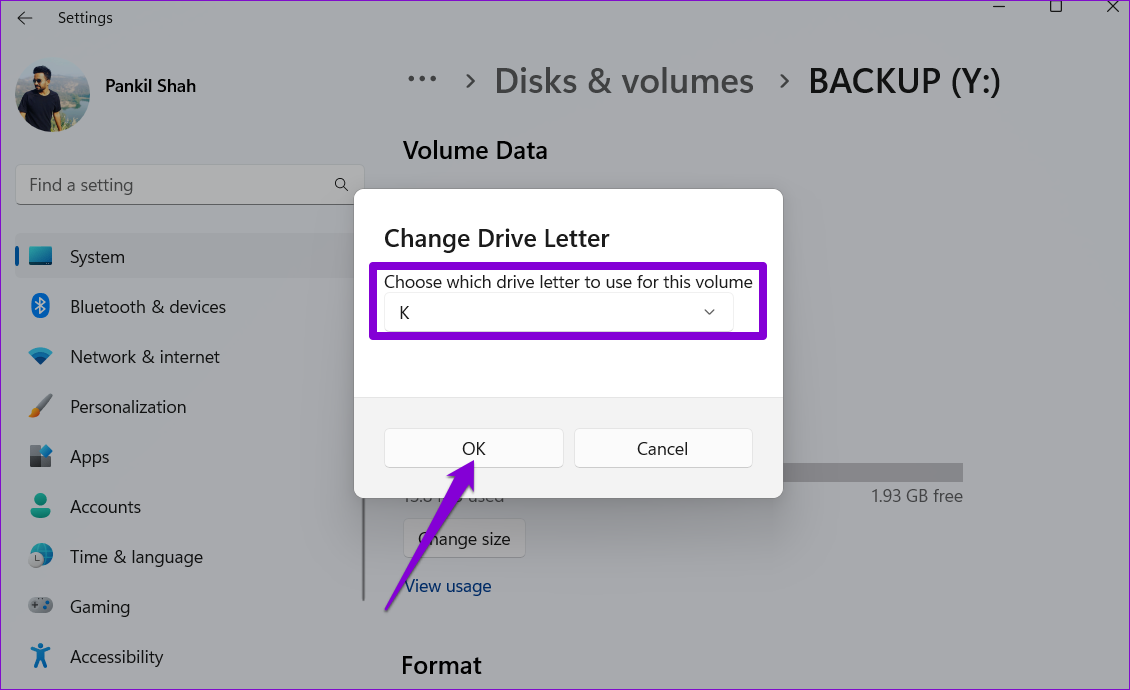
Step 5: Use the drop-down menu to select a new drive letter and click OK to save changes.
2. Change a Drive Letter via the Disk Management App
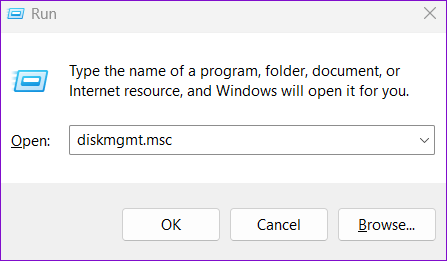
Disk Management is an excellent tool for managing partitions, formatting drives, and performing other storage-related tasks in Windows. It allows you the option to change the drive letter of a volume. Step 1: Press the Windows key + R to open the Run dialog box. Type diskmgmt.msc in the Open field and press Enter.
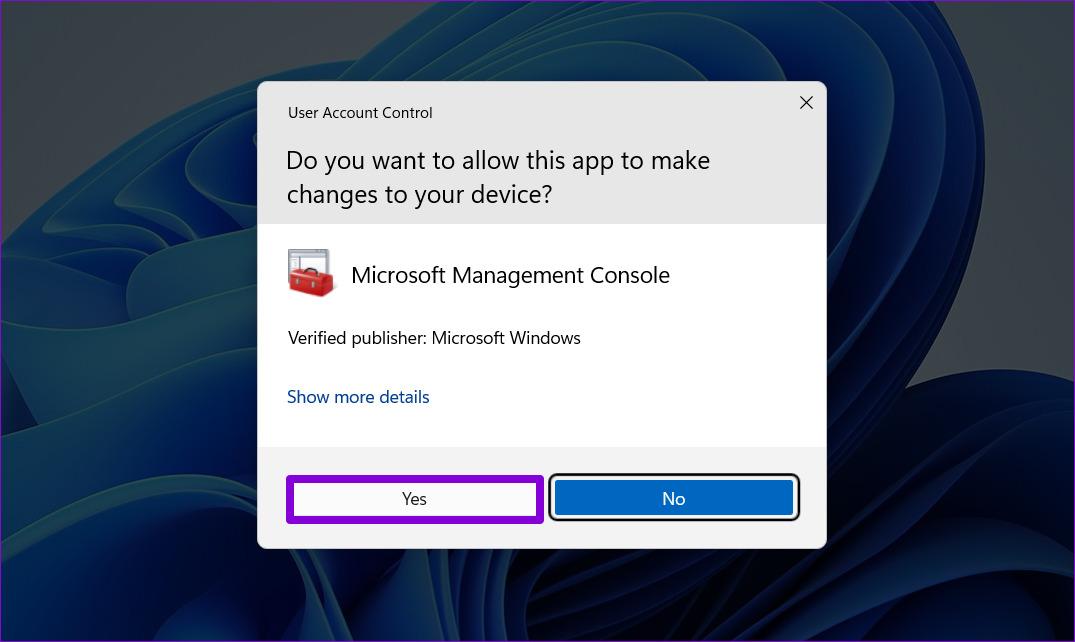
Step 2: Select Yes when the User Account Control (UAC) prompt appears.
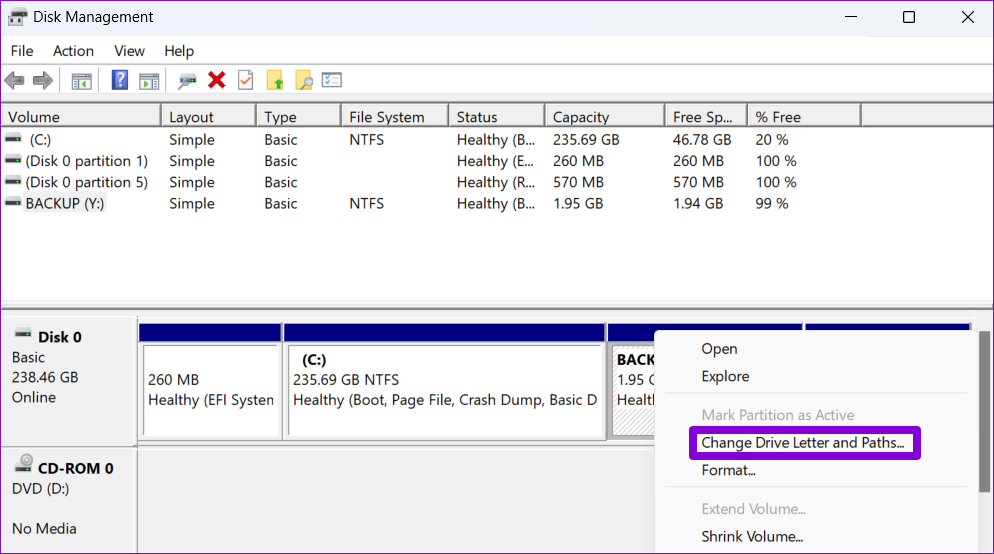
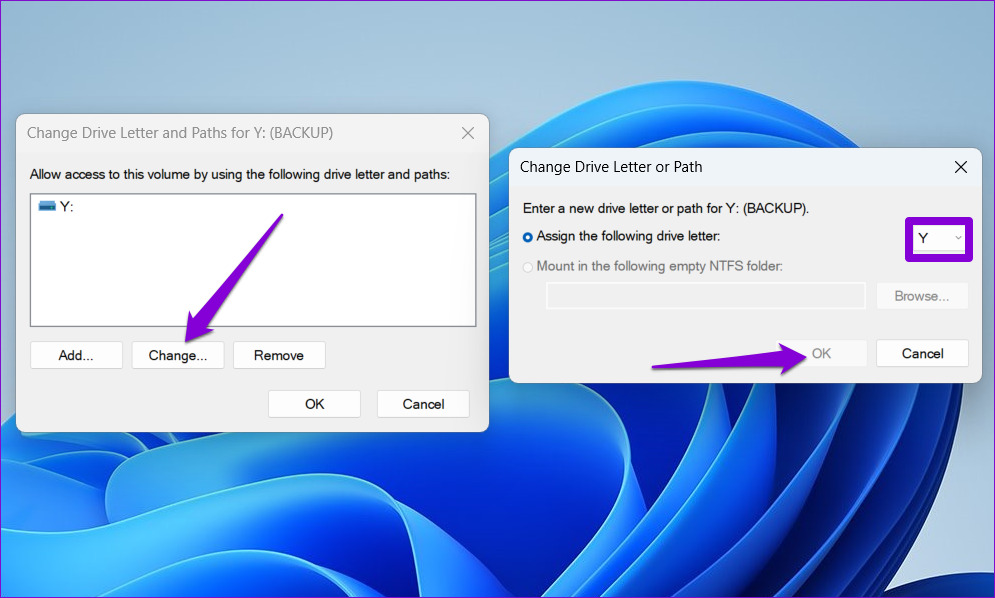
Step 3: You’ll see all the drives in the bottom half of the window. Right-click on your drive and select ‘Change Drive Letter and Paths.’
Step 4: Click on Change and select a new letter from the drop-down. Then, click on OK.
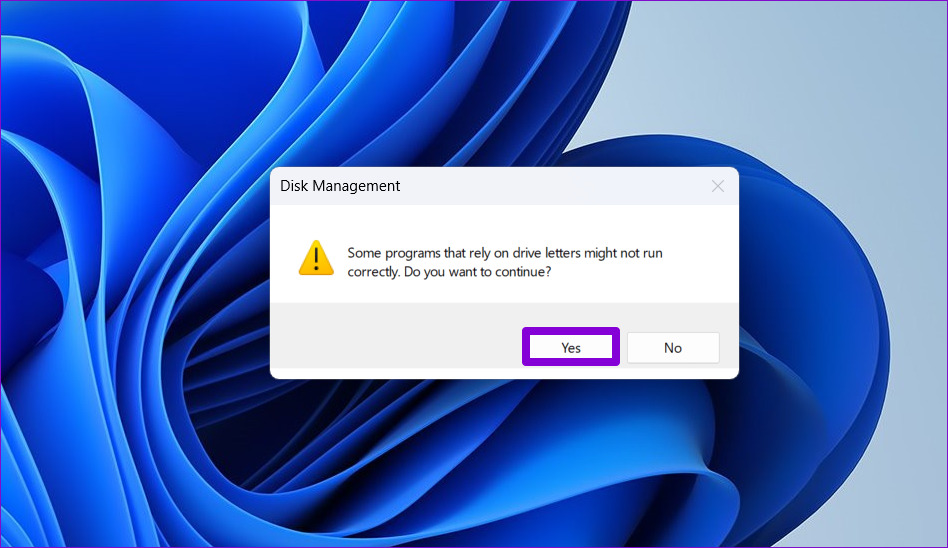
Step 5: Click OK when the warning message appears.
3. Change a Drive Letter With Command Prompt
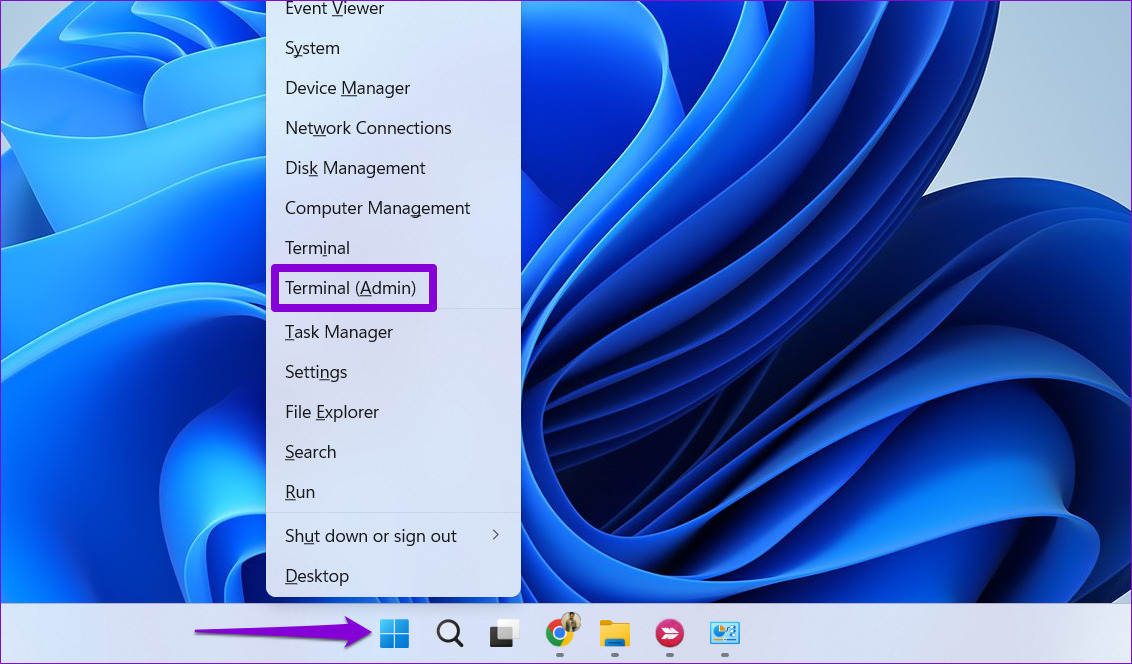
Are you comfortable using the command prompt? Proceed only if you are, else you may skip this solution. You can change the drive letter in Windows 11 by running a few commands in Command Prompt. Here’s how: Step 1: Right-click on the Start icon and select Terminal (Admin) from the list.
Step 2: Select Yes when the User Account Control (UAC) prompt appears.
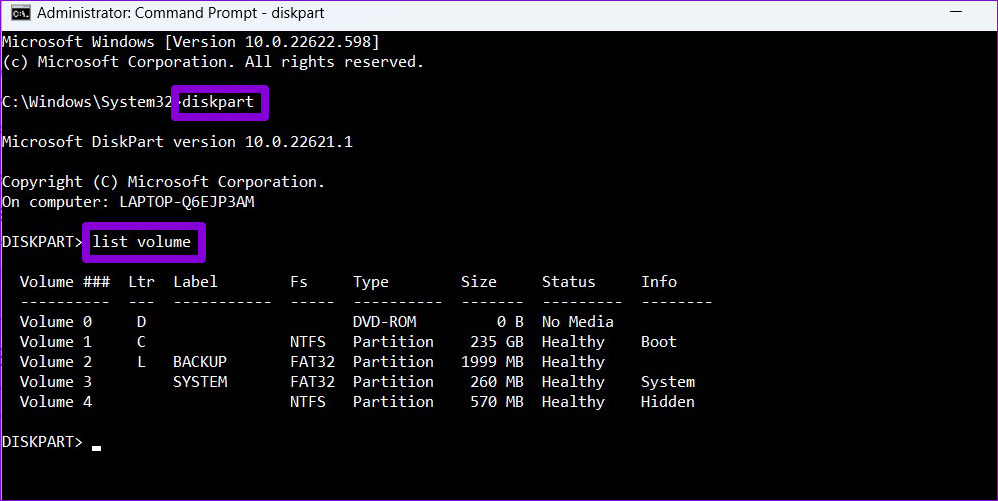
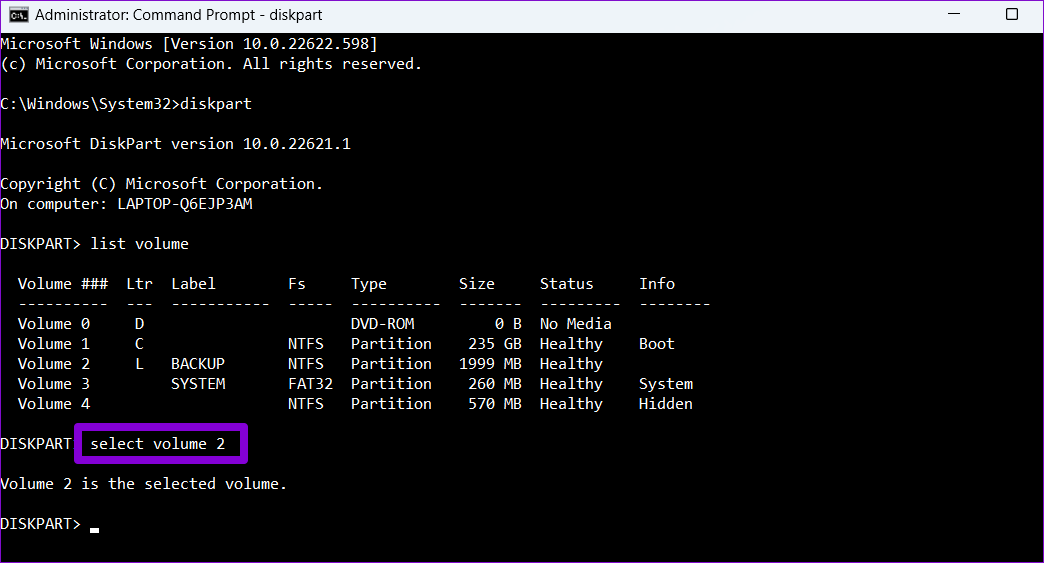
Step 3: In the Command Prompt window, type the following commands and press Enter after each to view a list of drives on your PC:
Note that the Volumes represent the visible partitions and they’ll have a drive letter assigned next to it. Note down the volume number of your drive from the first column. Step 4: Type the following command to select your drive. Replace N in the above command with the volume number noted in the previous step.
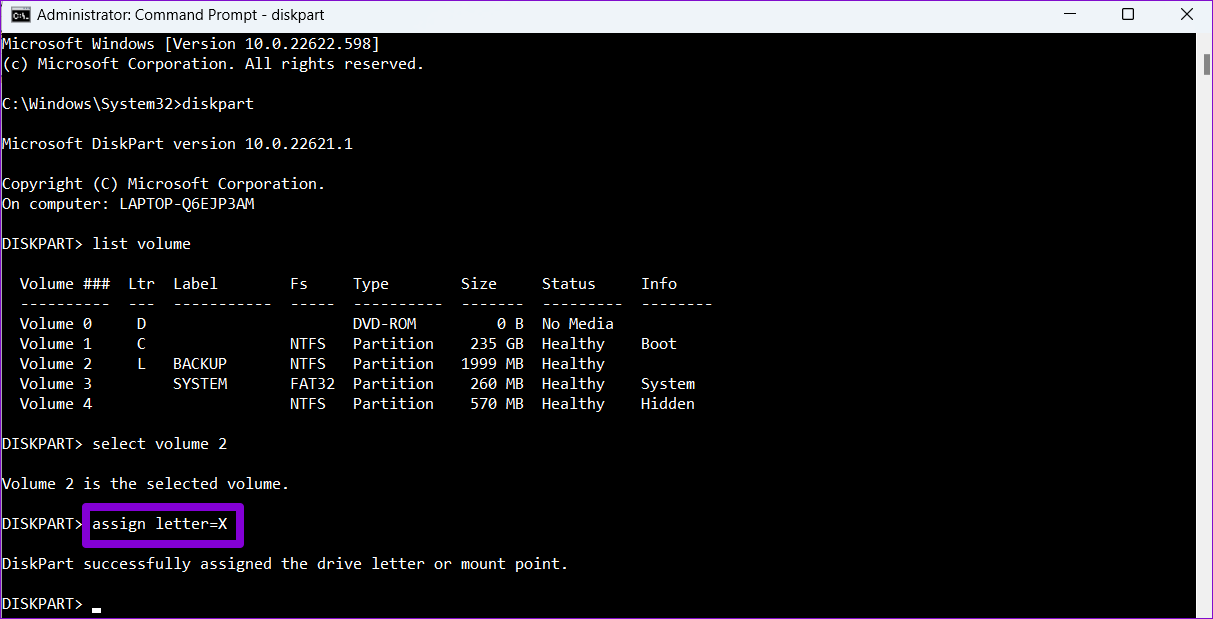
Step 5: Finally, type the following command and press Enter to assign a new drive letter: Replace ‘X’ in the above command with the letter you wish to assign.
4. Change a Drive Letter Using Windows PowerShell
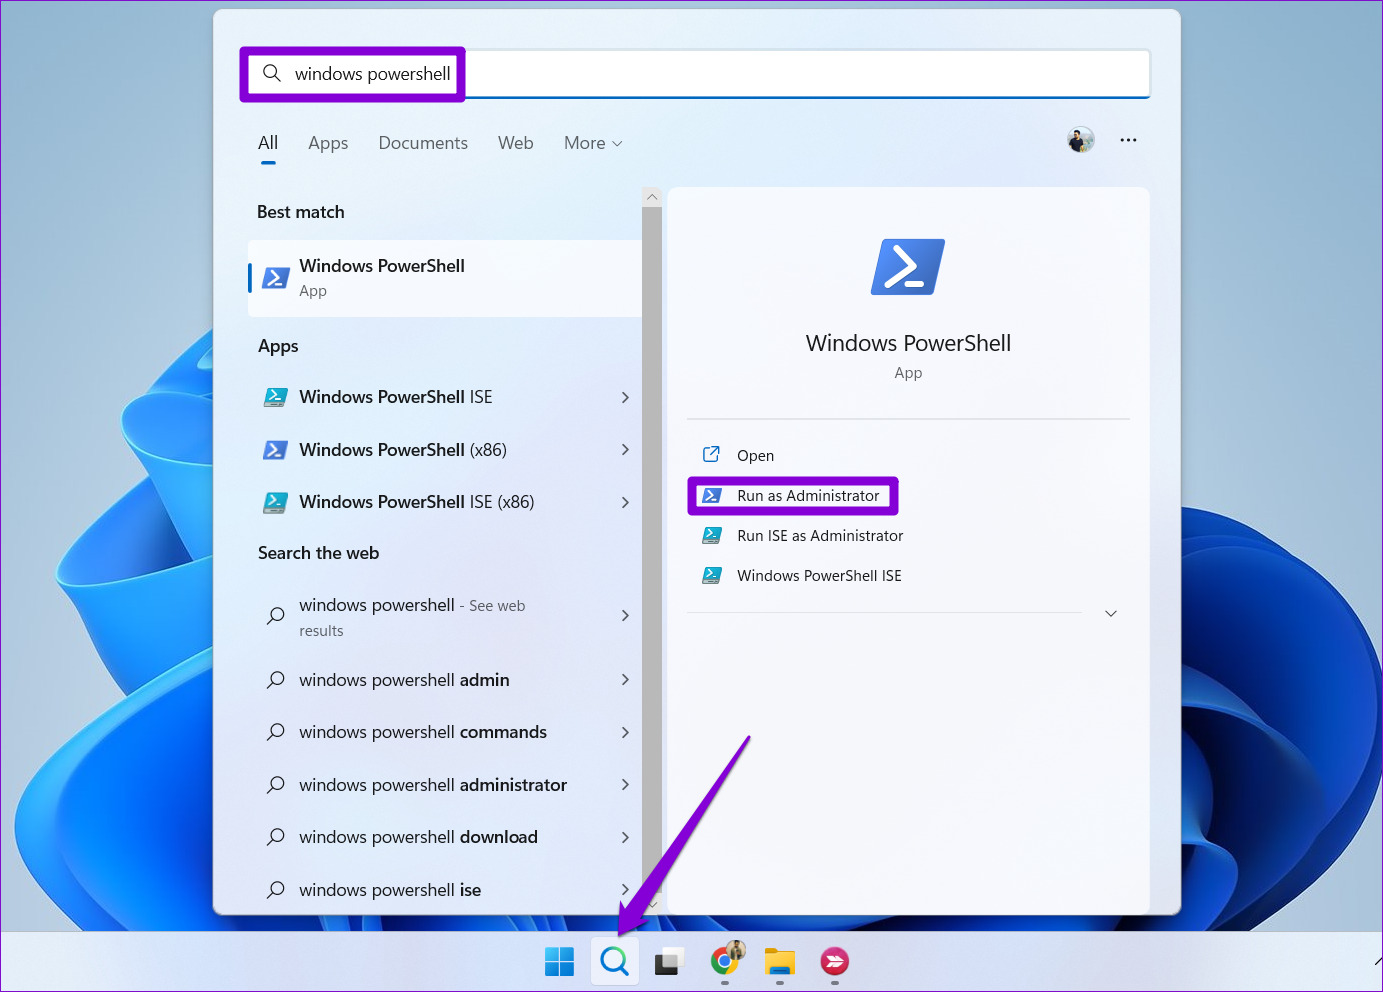
Windows PowerShell is another command-line tool to change the drive letter on your computer. Here are the steps you need to follow. Step 1: Press the Windows key + S to open the search menu. Type Windows PowerShell and select Run as Administrator.
Step 2: Select Yes when the User Account Control (UAC) prompt appears.
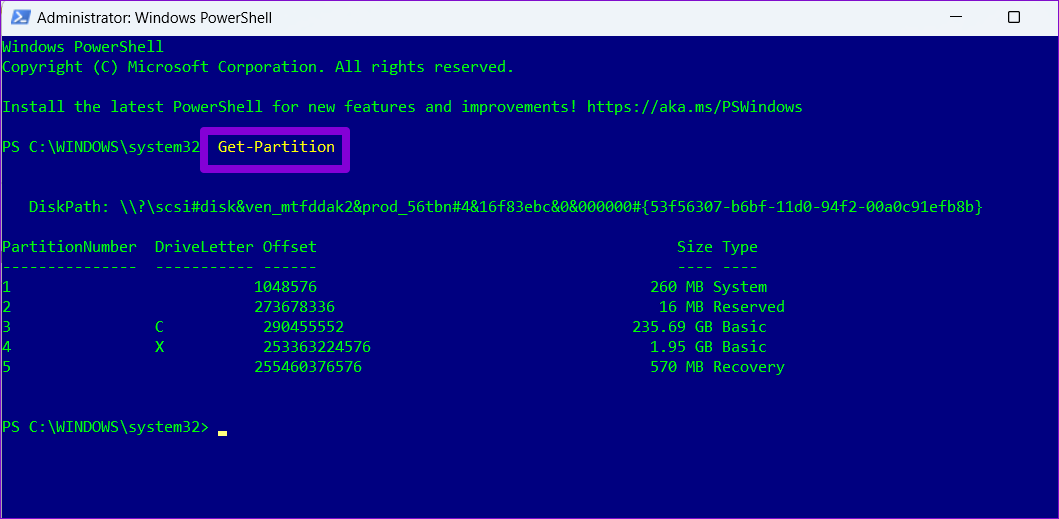
Step 3: Run the following command to view a list of disk partitions on your PC.
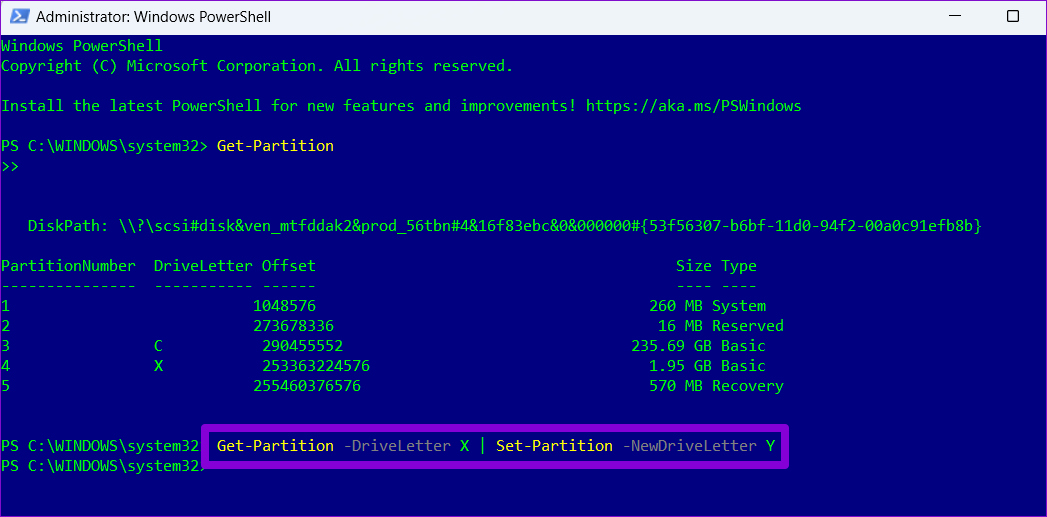
Note down the drive letter you want to change. Step 4: Enter the following command to change the drive letter. Replace ‘CurrentLetter’ in the above command with the letter noted in the previous step. Replace ‘NewLetter’ with the letter you want to assign. After that, press Enter.
PowerShell will change the drive letters and you can open the File Explorer to view the new drive letters.
5. Change a Drive Letter From the Registry Editor
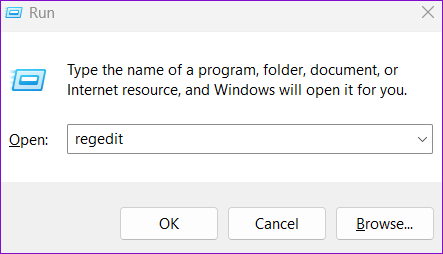
Lastly, you can change drive letters in Windows using the Registry Editor. However, you should only use this method if you’re comfortable editing registry files. Also, make sure you take a backup of all registry files and create a restore point before you proceed. Step 1: Press the Windows key + R to open the Run dialog, type regedit, and press Enter.
Step 2: Select Yes when the User Account Control (UAC) prompt appears.
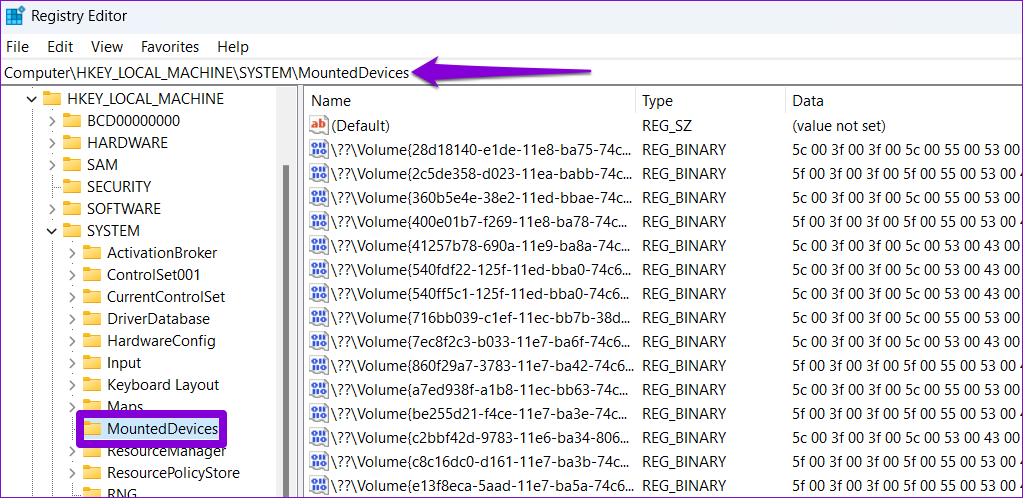
Step 3: Use the left pane to navigate to the following key:
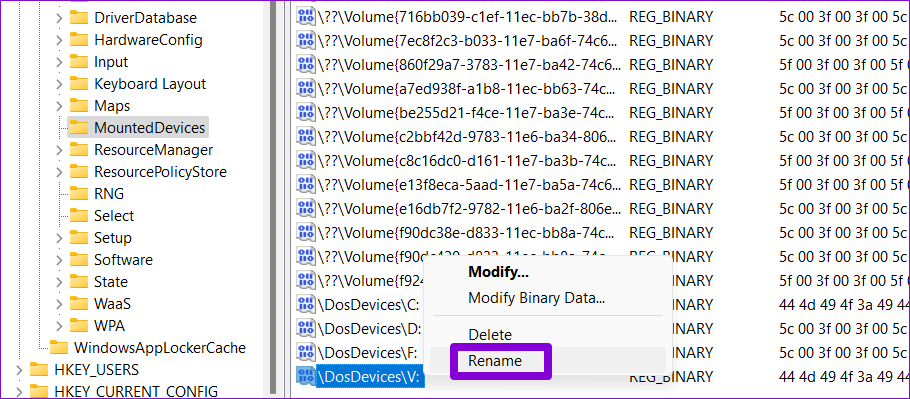
Step 4: Within the MountedDevices key, locate the binary value associated with your drive. For instance, if you want to change the letter of the V: drive, look for the ‘\DosDevices\V:’ binary value. Right-click on it and select Rename.
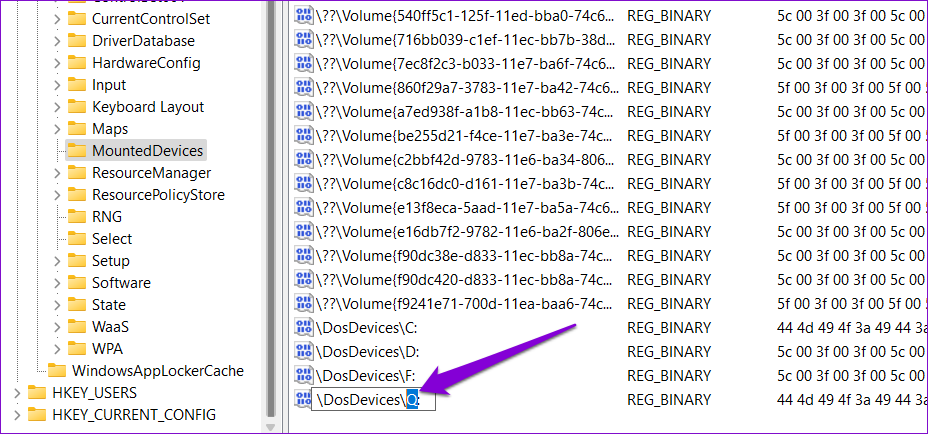
Step 5: Change the drive letter at the end of the binary value’s name.
Exit the Registry Editor window and restart your PC for changes to take effect.
Changing Drive Letters on Windows
Changing drive letters is something you may not do very often. But it’s nice to see how Windows 11 offers several different ways to do the same. Let us know which method you’ll use in the comments below.