To create a local account, you’ll need to sign in with an administrative account. After that, you can use any of the following methods to create a local account on your Windows 11 computer.
1. Create a Local User Account Using the Settings App
The Settings app provides an easy way to add new users on Windows 11. Here’s how you can use it to create a local account. Step 1: Press the Windows key + I to launch the Settings app. Step 2: Navigate to the Accounts tab and click on Other users.
Step 3: Click the Add account button.
Step 4: In the Microsoft Account window, click the ‘I don’t have this person’s sign-in information’ link.
Step 5: Click on ‘Add a user without a Microsoft account.’
Step 6: Specify a name and password for the local account. Then, set up security questions for your account.
Step 7: Lastly, click on Next.
Your local account should appear in the Settings app. After that, you can switch to that account and start using it.
2. Create a Local User Account With Netplwiz
Netplwiz is a handy utility that lets you view and manage all the user accounts on your PC. Besides, it also allows you to set up a new local account. Step 1: Press the Windows key + R to open the Run dialog. Type netplwiz in the box and press Enter.
Step 2: In the User Accounts window, click the Add button.
Step 3: Select the ‘Sign in without a Microsoft account (not recommended)’ option.
Step 4: Click on Local Account.
Step 5: Enter a username and password for the local account. Leave the password field blank if you don’t want to use a password for the local account. Then, click on Next.
Step 6: Finally, click on Finish.
After that, your account will appear in the User Accounts window and you can start using it.
3. Create a Local User Account Using Command Prompt
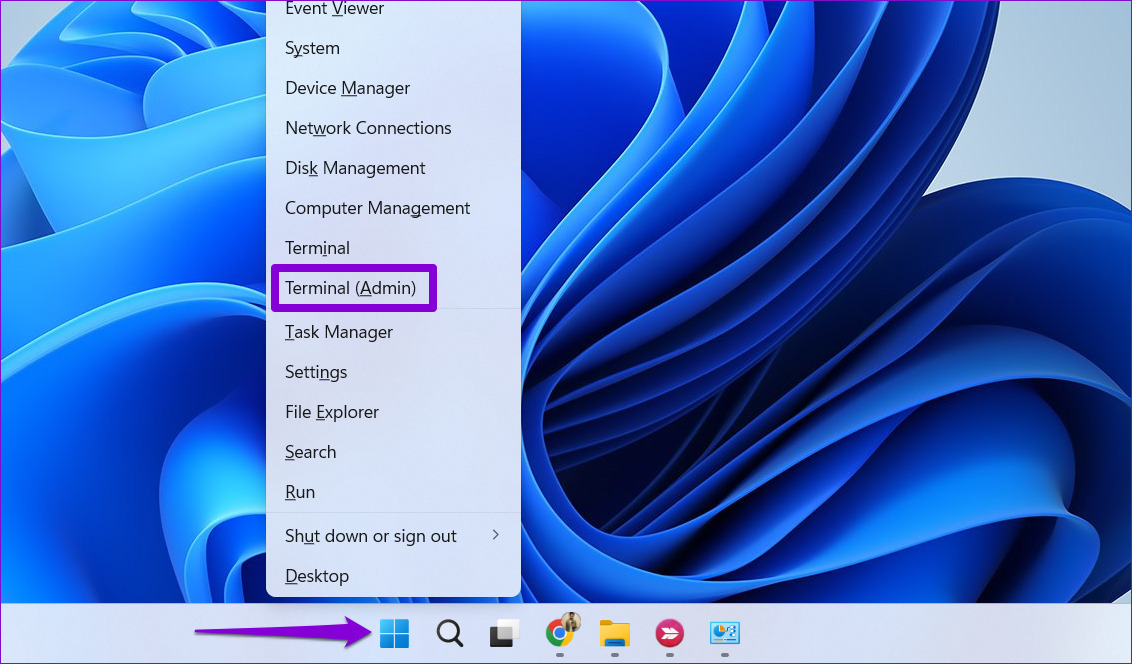
If you’re comfortable using command line interface, you can also use Command Prompt to create a local user account. As intimidating as it may sound, the procedure only requires you to execute a single command. Step 1: Right-click on the Start icon and select Terminal (Admin) from the resulting menu.
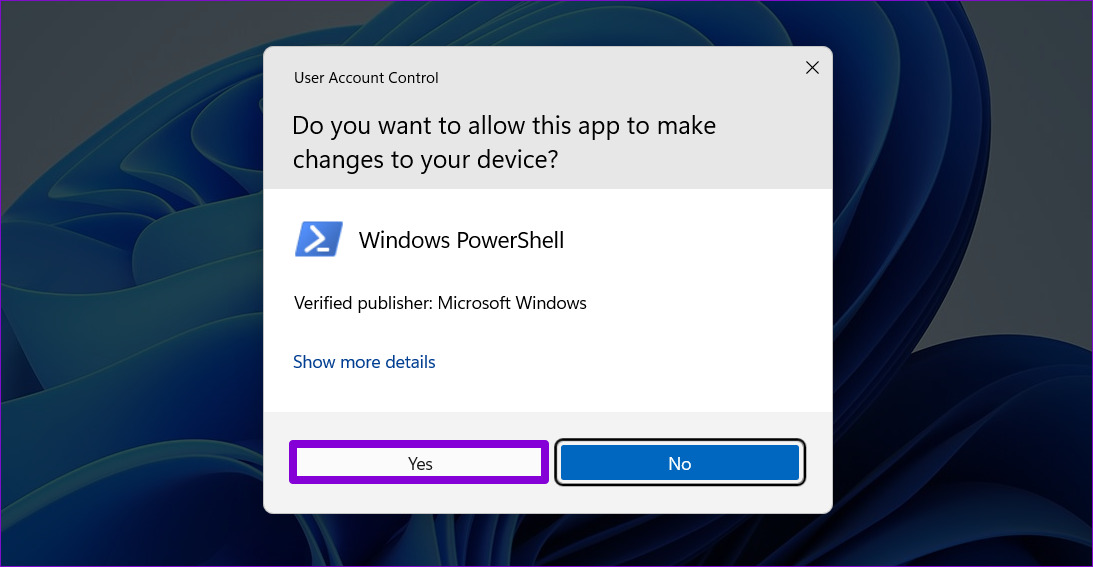
Step 2: Select Yes when the User Account Control (UAC) prompt appears.
Step 3: In the console, paste the following command and press Enter. Replace Username and Password in the above command with the credentials you want to use for the local account.
After that, your user account will appear among the list of accounts on your computer.
4. Create a Local User Account With Windows PowerShell
Like Command Prompt, you can create a local account with Windows PowerShell. Unlike previous methods, this one allows you to specify the user account type for your local account. Step 1: Click the search icon on the Taskbar, type Windows PowerShell in the box, and select Run as Administrator.
Step 2: Select Yes when the User Account Control (UAC) prompt appears.
Step 3: Run the following command to temporarily store the password inside the ‘$Password’ variable. Step 4: Type in a password for the local account and press Enter.
Step 5: Next, run the following command to create a local account. Replace AccountName and Username values in the above command with the actual names you want to use. Likewise, replace AccountDescription with a short description for your account. Check the screenshot below for reference.
Step 6: Lastly, run the following command to add the user to the local group. Replace AccountName with the actual name of your account specified in the last step. If you want to give the user full access, replace Users in the above command with Administrators.
After running the above commands, you can your new local account.
5. Create a Local User Account With Computer Management Tool
The Computer Management utility lets you access various system tools from one place. It also gives you the option to add new users to your PC. Note that you can only use this method if you’re running Windows 11 Pro, Enterprise, or Education editions. It’s not available on Windows 11 Home edition. Step 1: Right-click on the Start icon and select Computer Management from the list.
Step 2: Use the left pane to navigate to the Local Users and Groups section. Right-click on the Users folder and select New User from the resulting menu.
Step 3: Enter all the account details and click on Create.
Welcome to Your New Account
You can pick any of the methods you like to easily create local accounts on your Windows 11 PC. Tell us which one you’re going to use in the comments below.