If you’ve been wondering how to fix this error message, this guide has a few troubleshooting tips that’ll help. So, let’s check them out.
1. Use Check Disk Utility
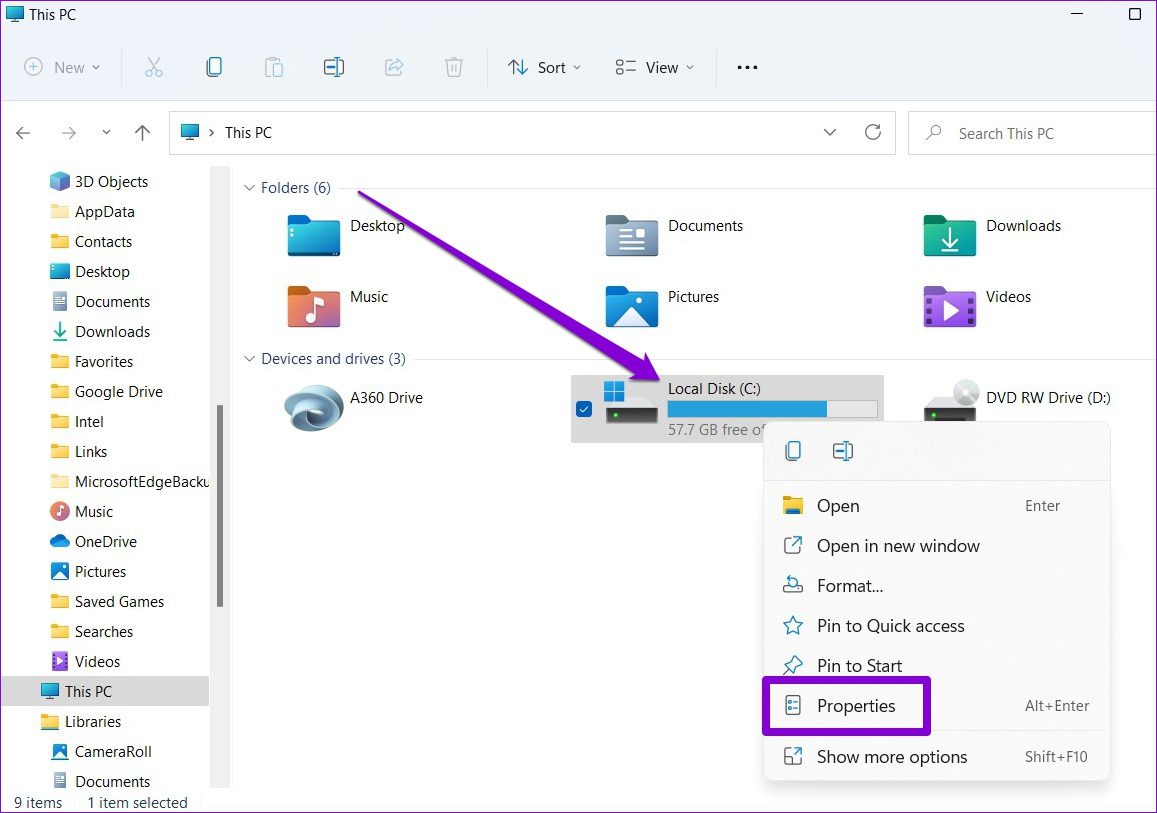
One of the most prominent reasons why the SFC scan might fail is if some of the critical system files on your PC have become inaccessible. The Check Disk utility can help you scan your drive for any file errors and bad sectors. Hence, you should start with that. Step 1: Press Windows key + E to launch the File Explorer on Windows. Right-click on the primary drive and select Properties.
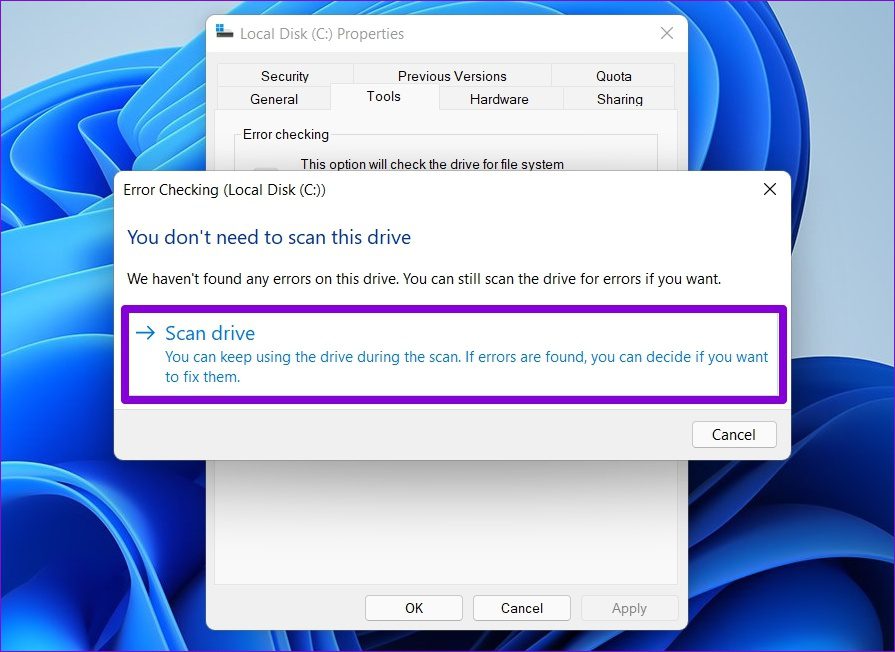
Step 2: In the Properties windows, switch to the Tools tab. Then, under Error Checking, click on the Check button.
Step 3: Select Scan drive to begin the check disk operation.
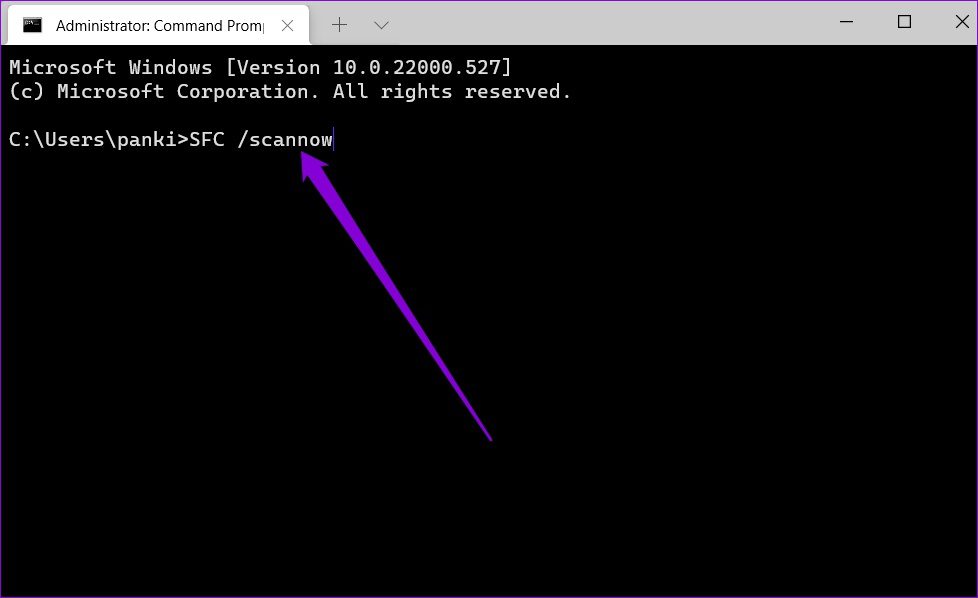
Depending on the size of the drive, this process might take a while. After running the check disk utility, try running the SFC scan to see if it can fix those corrupted files now. Step 1: Right-click on the Start menu and select Windows Terminal (admin).
Step 2: In the console, type the command given below and press Enter.
2. Run DISM Scan
If the SFC scan fails to replace the corrupted files with their cached version, then you can run a DISM (or Deployment Image Servicing and Management) Scan instead. DISM will run a thorough scan of your PC and download any internal system files from the Microsoft servers if required. Of course, you’ll need to be connected to the internet for this to work. Step 1: Press Windows key + X and select Windows Terminal (admin). Step 2: Run the following command.
After the scan is complete, try running the SFC scan again.
3. Try Safe Mode
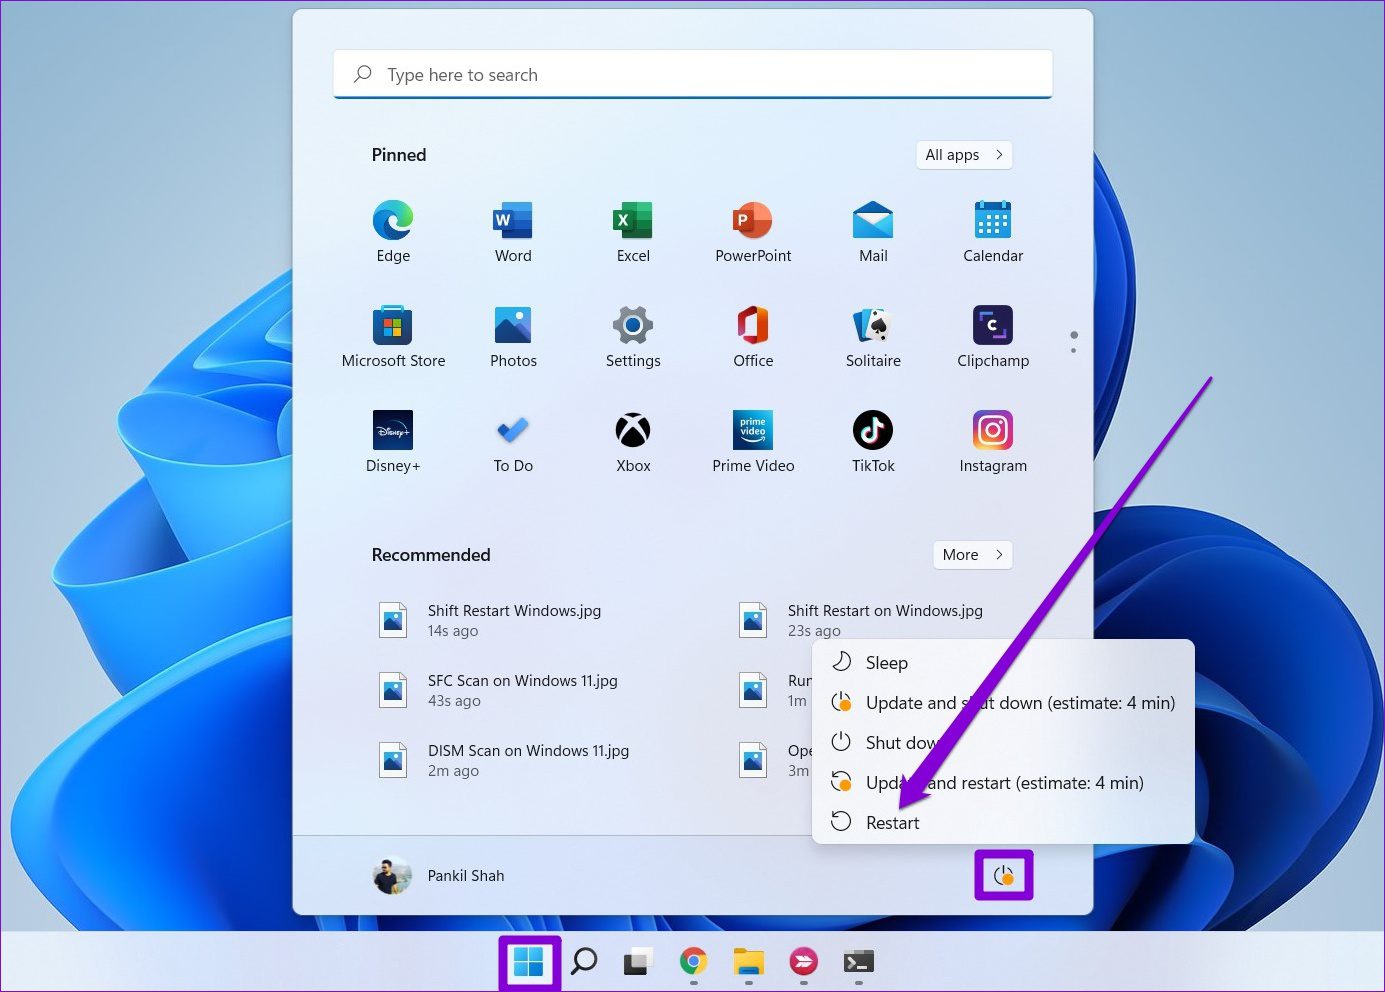
One of the apps or services running in the background may be interfering with the SFC scan and leading to such failures. You can try booting Windows into Safe Mode and then run the SFC Scan to rule this out. Here’s how. Step 1: Open the Start menu and click on the power icon at the bottom. Then, hold the Shift key and select Restart.
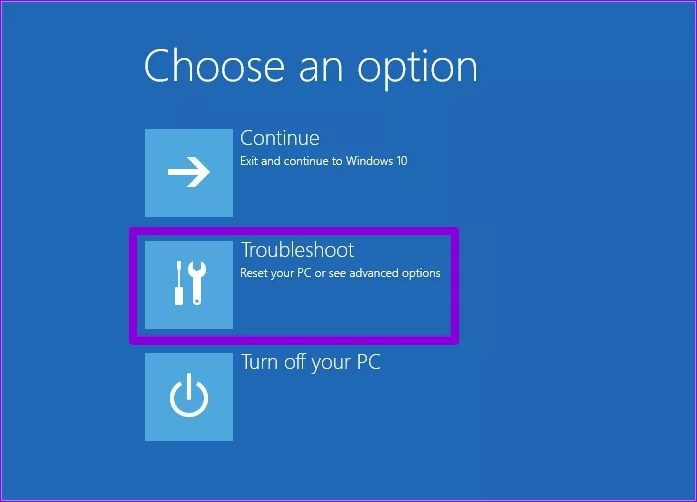
Step 2: After your PC restarts, it’ll ask you to select an option. Click on Troubleshoot to continue.
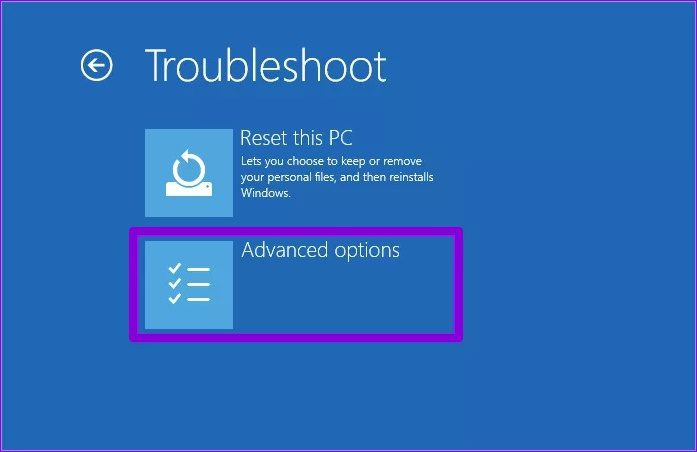
Step 3: Then go to Advanced Options.
Step 4: On the Advanced Options screen, select Startup Settings.
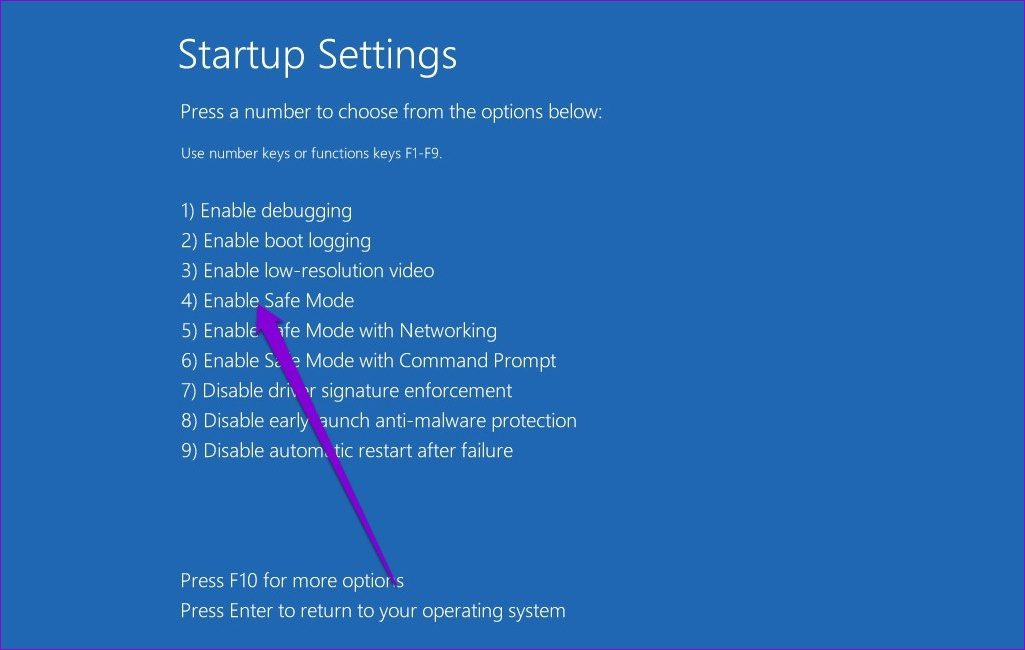
Step 5: Next, click on the Restart button to visit the Startup Settings menu.
Step 6: Lastly, press F4 on your keyboard to restart your PC in Safe Mode.
Once you’re in Safe Mode, try running the SFC scan to see if it can fix those corrupted files now.
4. Uninstall Windows Updates
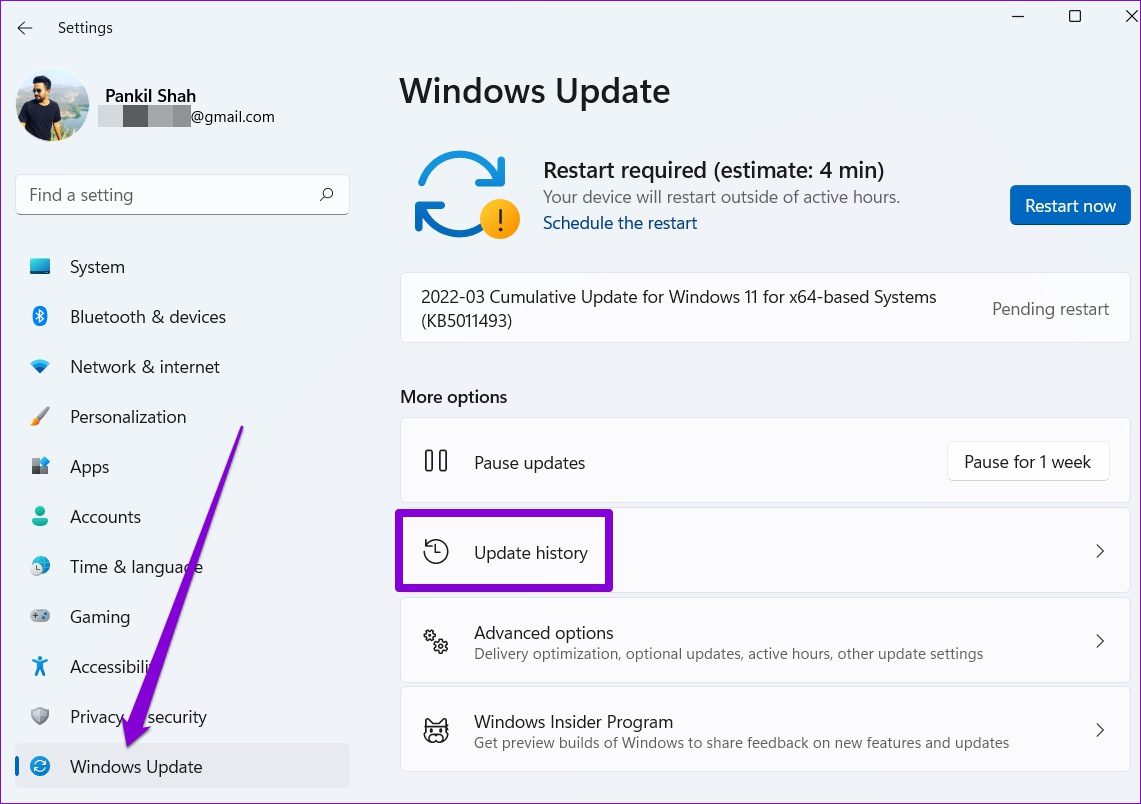
Sometimes, Windows updates can also go wrong. If you’re seeing the ‘Windows resource protection found corrupt files’ only after installing a Windows update, you can try uninstalling that particular update to see if that helps. Step 1: Press Windows key + I to launch the Settings app. Navigate to the Windows Update tab and click on Update history.
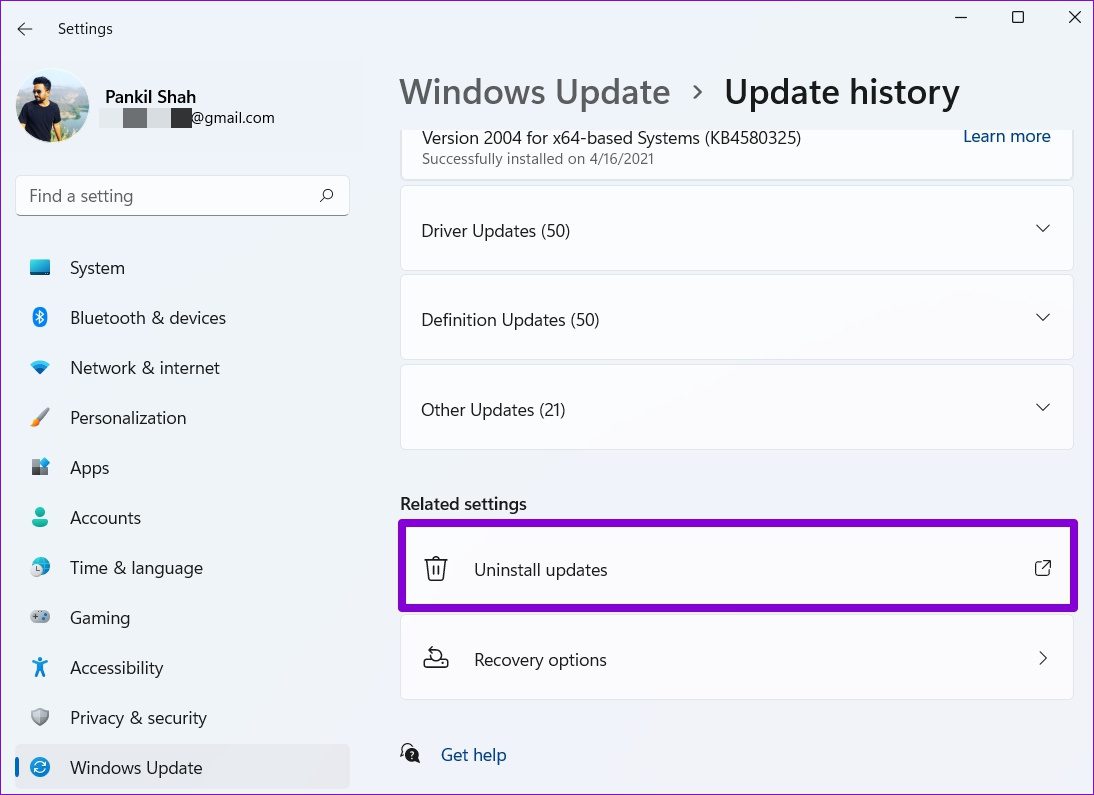
Step 2: Scroll all the way down to Related settings and click on Uninstall updates option.
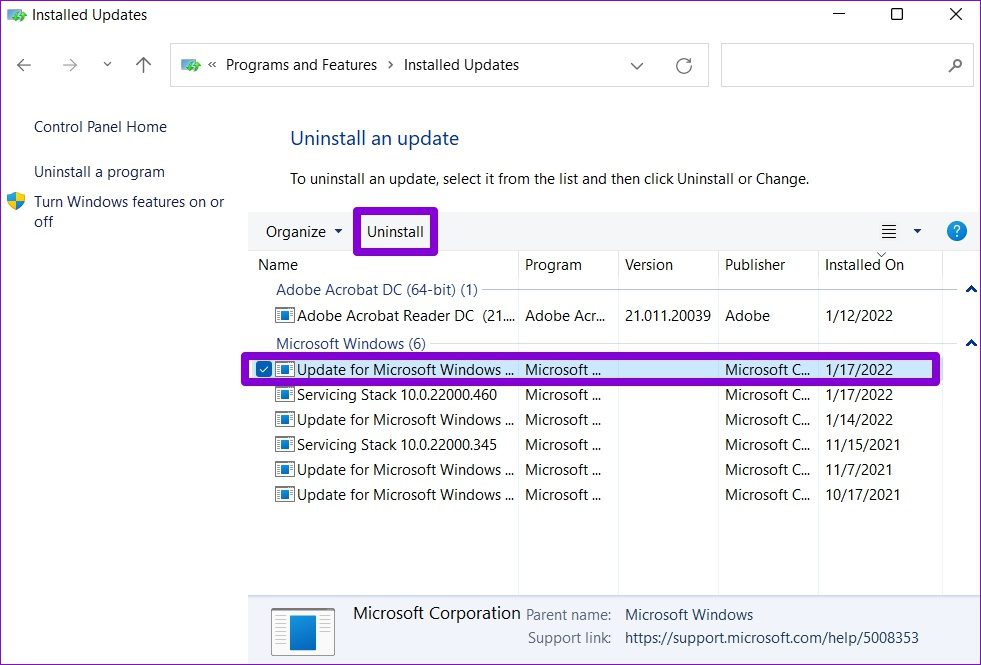
Step 3: Select the recently installed update and click on Uninstall.
5. Use System Restore
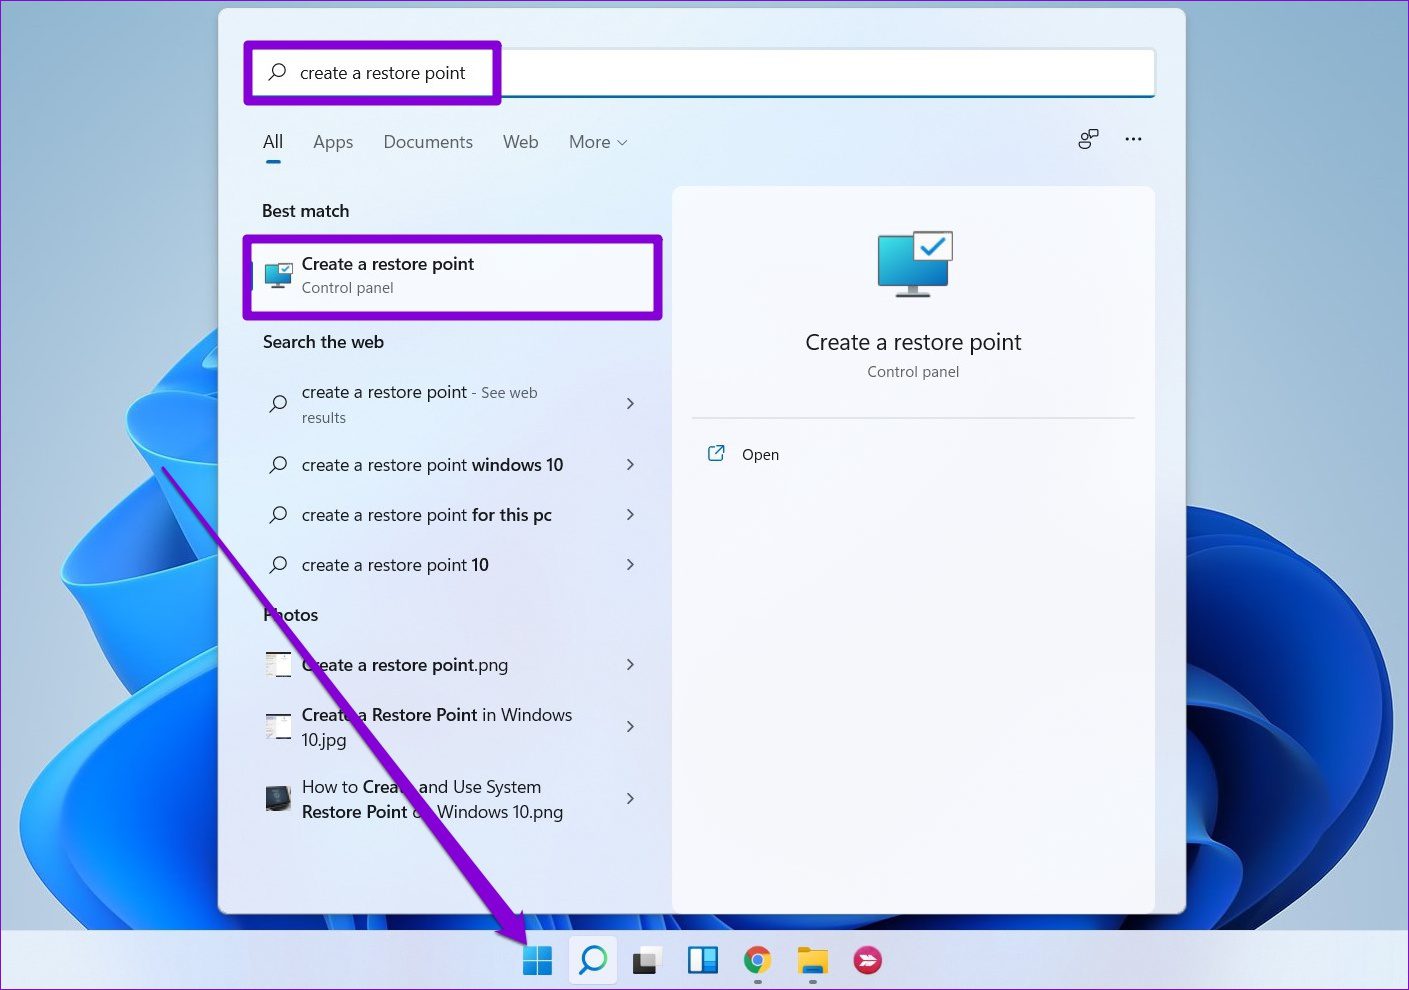
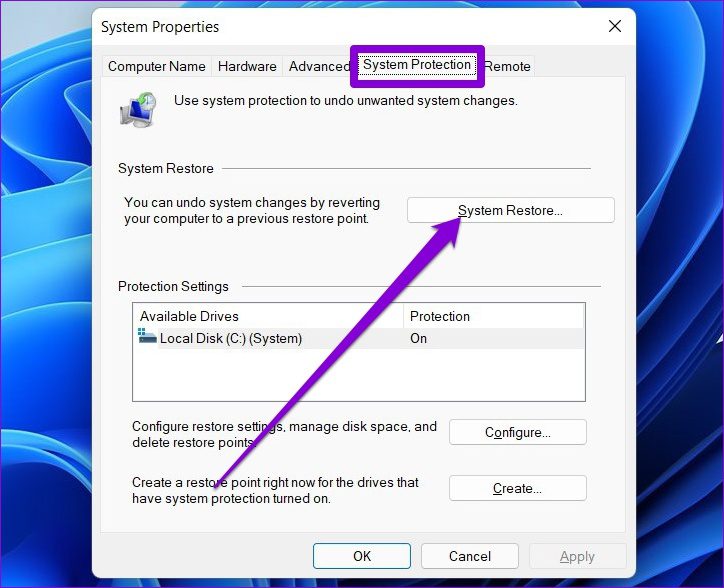
System Restore is a useful utility on Windows that takes a backup of the entire system periodically or right before detecting any major changes. So, if nothing works out, then you can use System Restore to undo the changes made to your PC recently and move to a point when it was working fine. Read on to learn how. Step 1: Press Windows key + S to open Window Search, type in create a restore point, and press Enter.
Step 2: Switch to the System Protection tab. Then, click on the System Restore button.
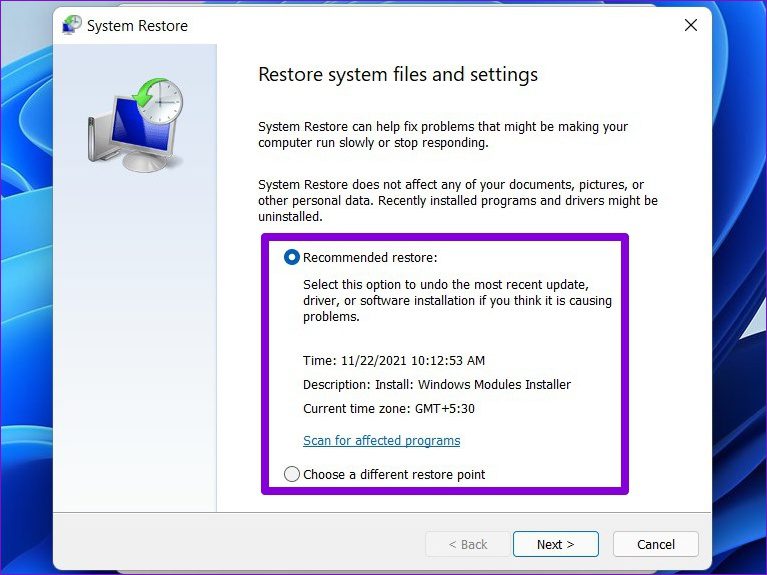
Step 3: Go with the recommended restore point or pick one yourself with the second option. Then hit Next.
From there, follow the on-screen instructions to begin the process.
Say No to Corruption
Hopefully, one of the above solutions has helped you fix those corrupted files on Windows 11, and things are back to normal. But if you’re still facing the same error, you might have to consider resetting Windows as a last resort.