Whether the network discovery feature keeps turning off or does not work, the following troubleshooting tips should help you fix all those issues. So, let’s check them out.
1. Enable Network Discovery
Your first step is to ensure that the network discovery feature on Windows is enabled for both public and private networks. Here’s how to do it. Step 1: Right-click on the Start icon and select Settings from the list.
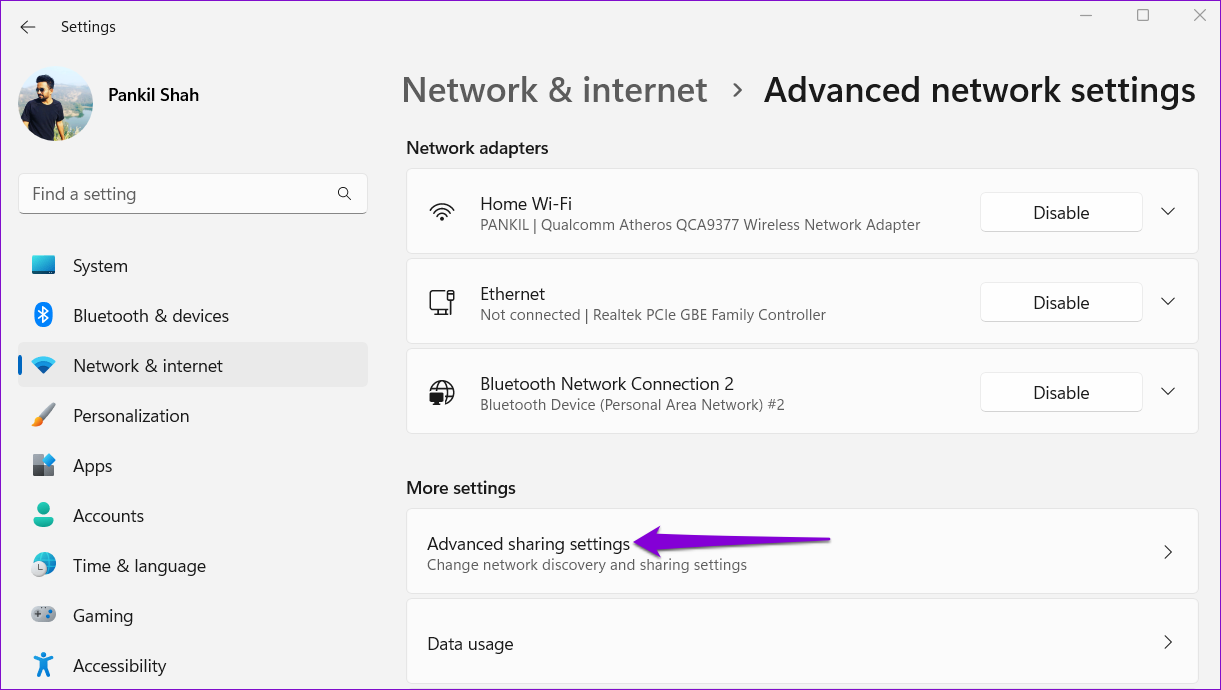
Step 2: Switch to the Network & internet tab and click on Advanced network settings.
Step 3: Click on Advanced sharing settings.
Step 4: Expand Private networks. Then, enable the toggles for Network discovery and File and printer sharing.
Likewise, enable Network discovery and File and printer sharing for Public networks. If you’re on a public network, turn off network discovery when not in use.
Restart your PC after this and see if the issue is still there.
2. Configure Services Related to Network Discovery
Network discovery relies on certain Windows services to function. You may encounter such problems if one of those services is not running. Here’s what you can do to fix it. Step 1: Press the Windows key + R to open the Run dialog. Type services.msc in the box and press Enter.
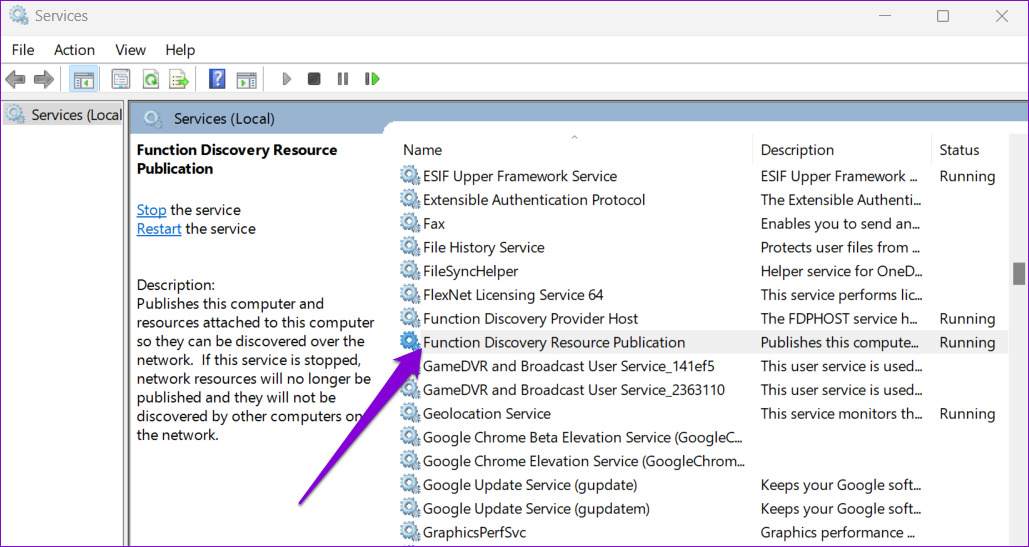
Step 2: Scroll down to locate the ‘Function Discovery Resource Publication’ service. Double-click on it to open its properties.
Step 3: Use the drop-down menu next to Startup type to select Automatic. Then, hit Apply, followed by OK.
You’ll need to repeat the above steps to configure DNS Client, SSDP Discovery, UPnP Device Host, and Function Discovery Provider Host services. After that, restart your PC, and the network discovery should work as before.
3. Check Windows Firewall Settings
If the problem persists even after configuring Windows services, the Windows Defender Firewall is likely blocking network discovery. Here’s what you can do to allow network discovery through Windows Defender Firewall. Step 1: Click the search icon on the Taskbar, type in control panel, and press Enter.
Step 2: Use the drop-down menu in the top right corner to change the view type to Large icons and click on Windows Defender Firewall.
Step 3: Click on ‘Allow an app or feature through Windows Defender Firewall’ in the left pane.
Step 4: Click the Change settings button.
Step 5: Select Yes when the User Account Control (UAC) prompt appears.
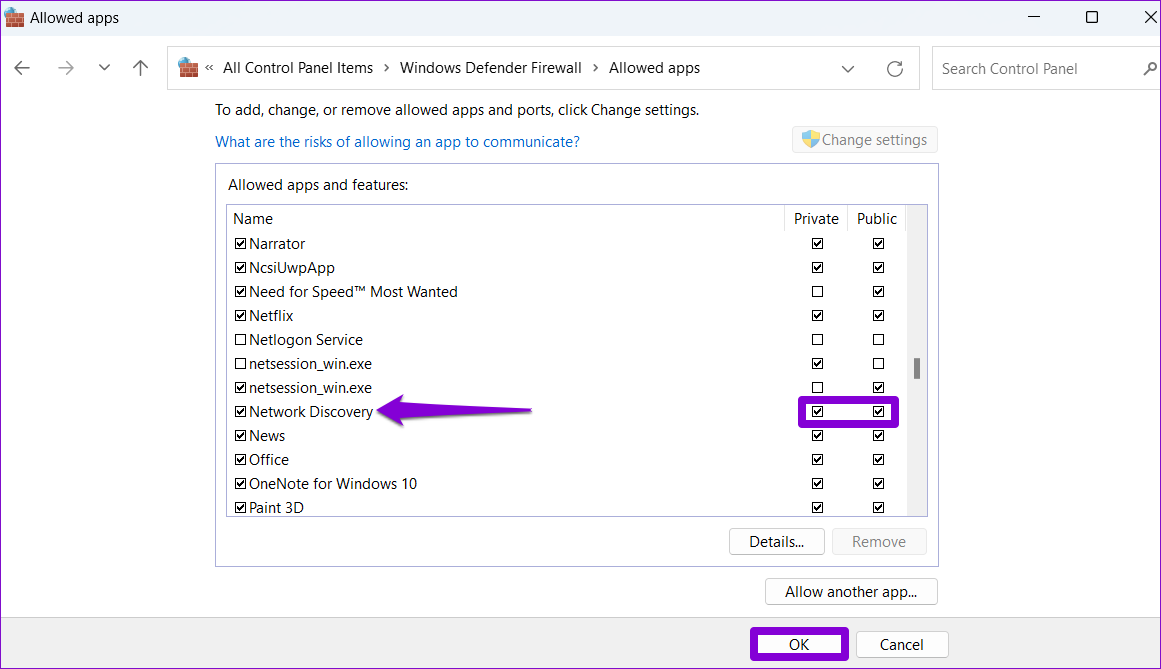
Step 6: Locate Network Discovery on the list and tick the Private and Public checkboxes next to it. Then, click on OK to save changes.
4. Run Windows Troubleshooters
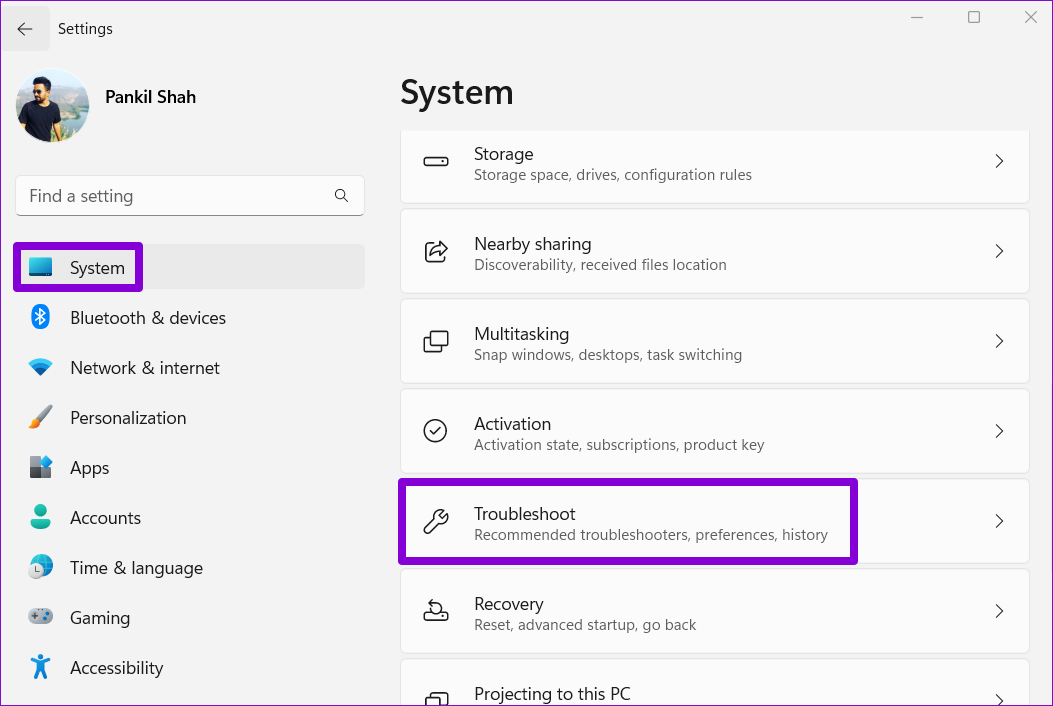
Windows 11’s built-in troubleshooters can help you deal with various system-level issues. You can try running the Network Adapter and Shared Folders troubleshooters to see if that resolves the issue. Step 1: Press the Windows key + I to launch the Settings app. In the System tab, scroll down to click on Troubleshoot.
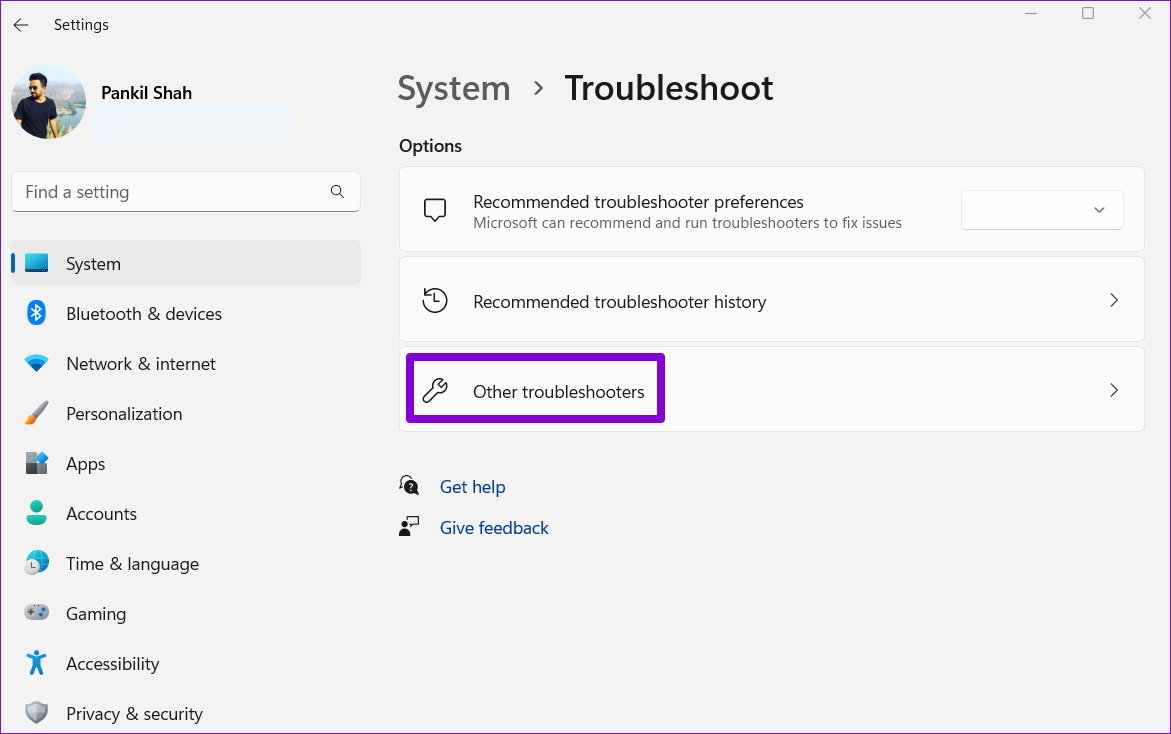
Step 2: Go to Other troubleshooters.
Step 3: Locate and run the Network Adapter troubleshooter.
After running the Network Adapter troubleshooter, run the Shared Folders troubleshooter from the same menu.
5. Update the Network Adapter Driver
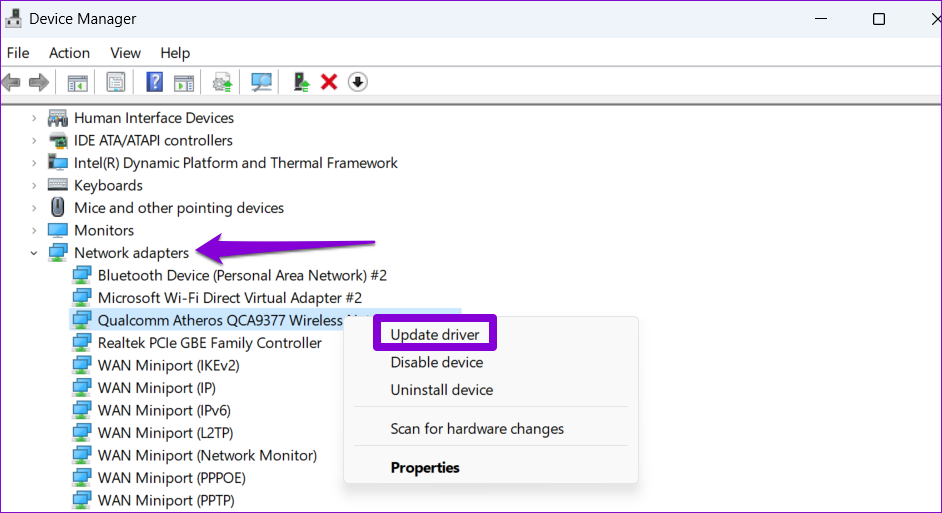
Such issues with the network discovery can also occur due to a malfunctioning network adapter driver. In that case, you can try updating the driver by following the steps below. Step 1: Right-click on the Start icon and select Device Manager from the list.
Step 2: Double-click on Network adapters to expand it. Right-click your network adapter and select Update driver.
From there, follow the on-screen instructions to finish updating the network driver.
6. Reset Network Settings
If none of the above solutions work, you can reset your PC’s network settings as a last resort. That means you’ll lose all network configurations, such as the IP address and DNS server settings you use to connect your PC to your network. To reset network settings on Windows 11: Step 1: Press Windows key + I to launch the Settings app. Navigate to the Network & internet tab and click on Advanced network settings.
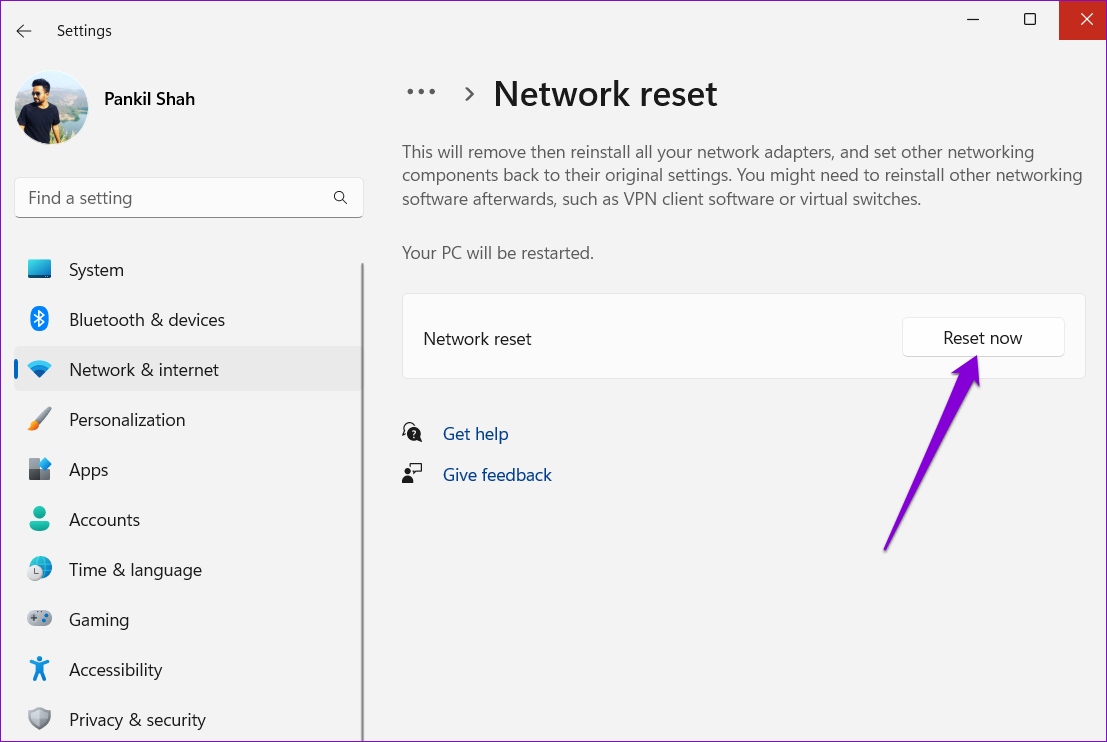
Step 2: Under More settings, click on Network reset.
Step 3: Click the Reset now button next to Network reset.
Your PC will restart and revert to the default network settings. Following this, the issue will no longer bother you.
Yours to Discover
Such network issues on Windows affect your productivity and force you to use alternative methods to share files with nearby computers. Hopefully, it hasn’t come to that, and one of the solutions listed above has helped you fix the network discovery not working issue on Windows 11.